If you are looking for a fun and unique process art activity for toddlers and preschoolers, look no further than toothbrush painting. This creative art activity really has it all.
There are simply so many fun ways to paint with a toothbrush! I have even included one of my favorite videos demonstrating toothbrush painting!
In this post, you will learn everything you need to know about painting with toothbrushes including the benefits of toothbrush painting, different techniques, and creative ideas for painting with toothbrushes.
Let’s dive right in.

What is Toothbrush Painting?
Toothbrush painting is exactly what it sounds like – a fun way of creating art using a toothbrush and paint.
Children who love messy play activities will enjoy this painting technique. It truly processes art at its finest.
Benefits of Toothbrush Painting
Kids get so much more out of this type of art activity than simple enjoyment. There are so many amazing benefits to using different tools, like toothbrushes, to create art.
Yes, that’s right. There are actual developmental benefits to painting with a toothbrush!
So, what are these benefits, exactly? What skills do painting with a toothbrush encourage?
- fine motor skills (manipulating the toothbrush)
- creativity (deciding how they’d like the end product to look)
- problem-solving skills (figuring out how to create the art they want)
- independence (freedom to create with minimal assistance)
- self-esteem (no set instructions means their art will have no “errors”)
Wow – that’s quite a list of benefits!
Toothbrush painting is also great for helping toddlers and preschoolers calm down and explore their creative center. It’s also great for parents because it’s easy to set up and kids can create their artwork fairly independently.
So, now that we understand what toothbrush painting is and we know a bit about the benefits, let’s get into how to do it!
Toothbrush Art Basics
Before we start exploring how we can paint with the help of a toothbrush, I like to go through our needed supply list and take a look at which paints suit our process art project for preschoolers best.
Toothbrush Painting Supplies
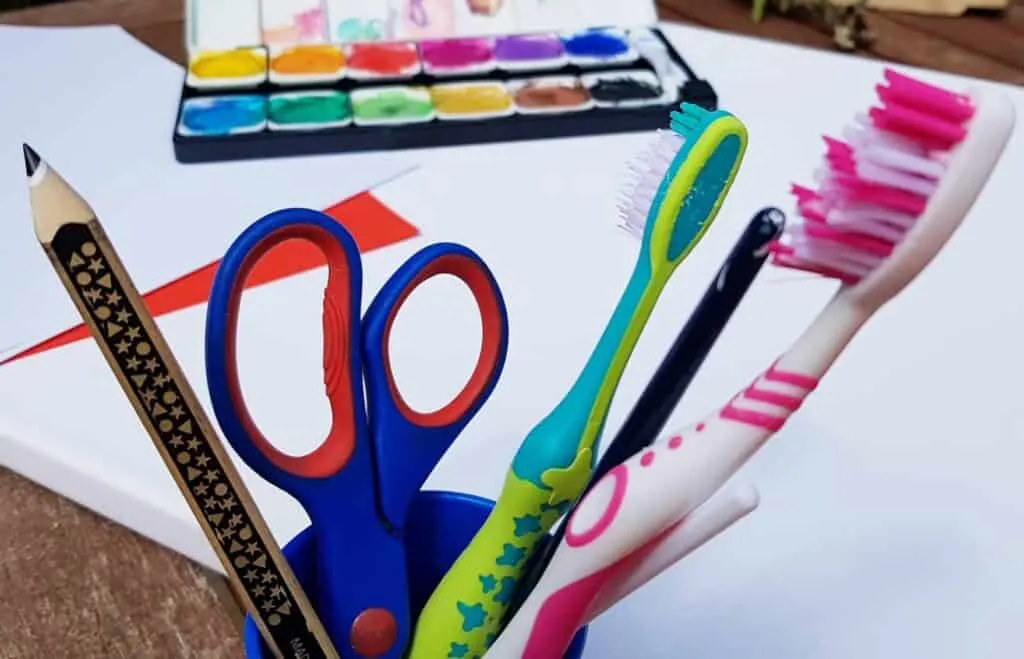
One of the best parts about this easy toothbrush art technique is that you do not need a lot of materials.
All you need is:
- Drawing Paper
- Toothbrush
- Paint
- Scissor
- Tape
- Pencil
- Water if needed for the paint
- Kitchen Strainer (optional)

What Type of Paint Can I Use?
So now you might wonder what kind of paint you can use for easy toothbrush drawing projects with your toddler.
In general, you can use all kinds of liquid paints including spray paint, acrylic paint, watercolors, etc. But for toddlers, I advise you to use finger colors or make your own edible paint to be on the safe side.
You might also enjoy our other Toddler Painting Ideas, Toddler Safe Playdough Recipe, or enjoy our free Preschool Printables and Worksheets.
Different Techniques for Toothbrush Paintings
Next, let’s find out now how to paint with a toothbrush.
There are three different toothbrush painting techniques:
- Paintbrush Technique
- Finger Technique
- Kitchen Strainer Technique
In the following paragraphs, I will explain to you all three methods.
But the fun part about toothbrush art is that your toddler does not have to stick to one technique. They can easily be combined and the difficult level adjusted.
Let’s get started.
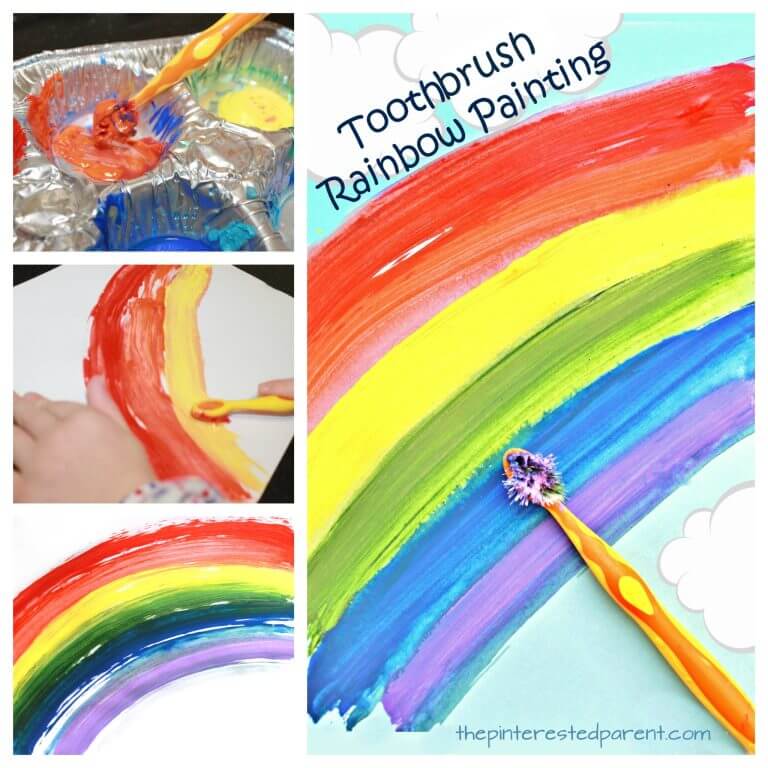
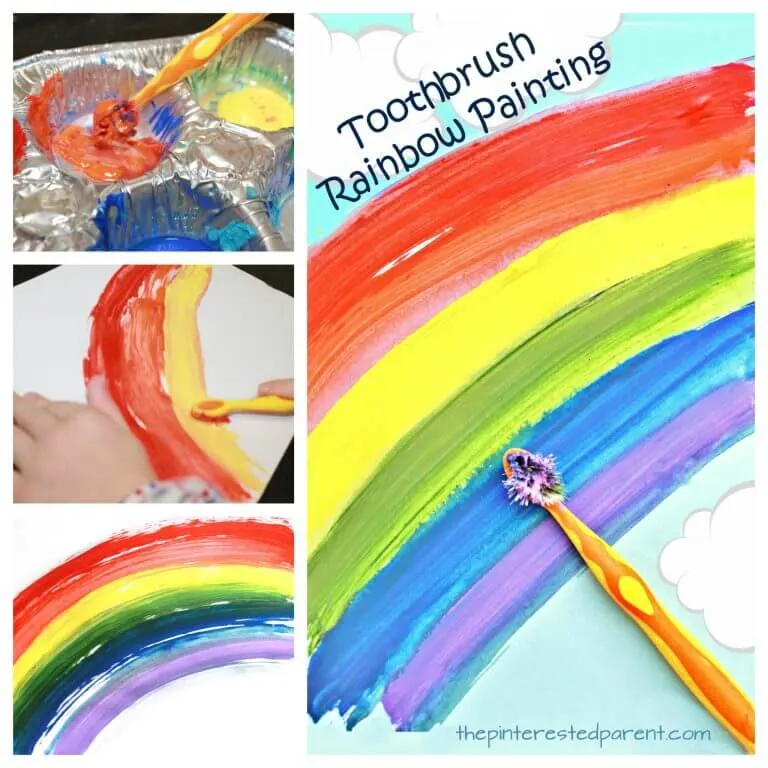
1. Paintbrush Technique
Simply use your toothbrush as you would use a regular paintbrush. Dip them in your liquid paint and start drawing.
This is the easiest of all three techniques and is suitable for young toddlers.
2. Finger Technique
Before we come to this next painting method, I like to point out that the preparation for the finger and kitchen strainer techniques are the same steps. The only difference lies in the step on how to splash the color on your prepared paper.
This finger technique will help your toddlers to work on their fine motor skills. Depending on their age level it might be still challenging in the beginning to manage.
Therefore it can get quite messy. Make sure you are prepared for it.
To avoid big clean-up sessions either take this activity outside or make sure to lay old newspapers out and dress accordingly.
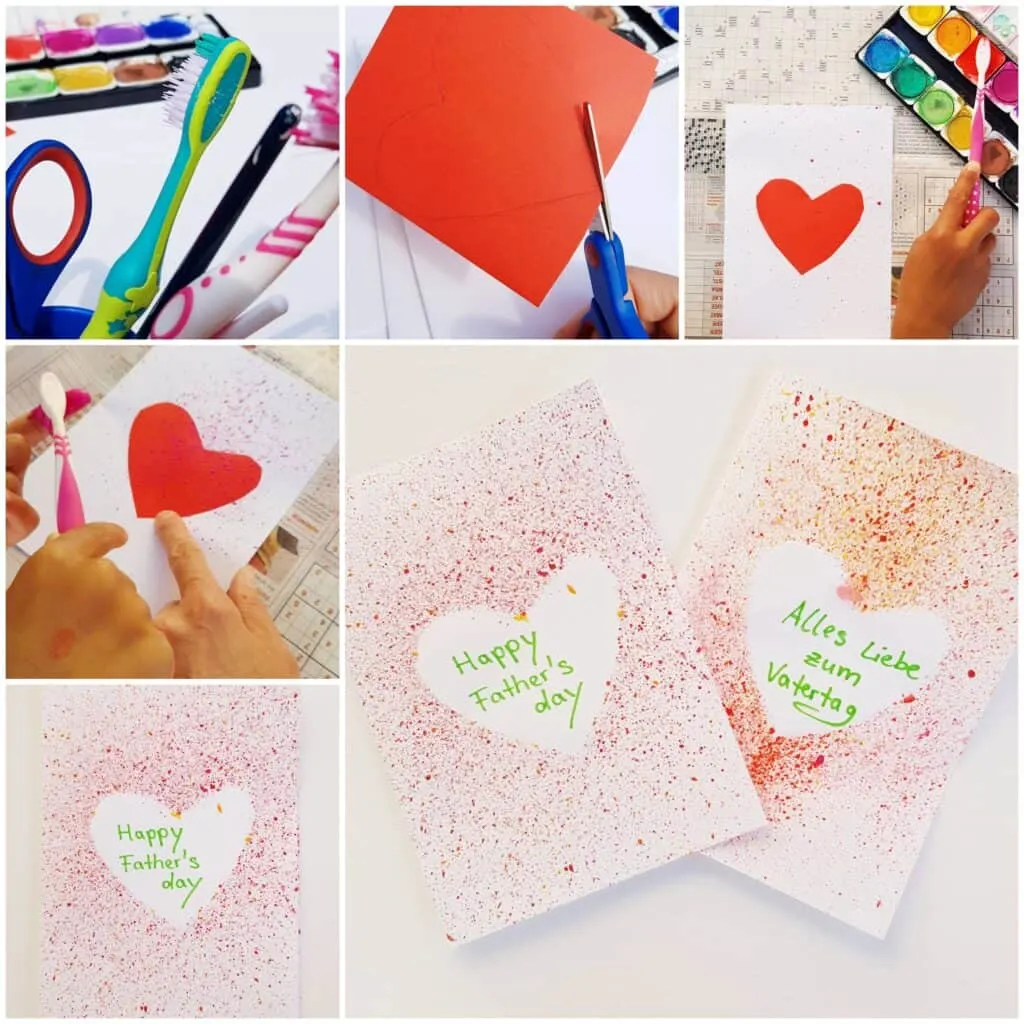
But let’s get back to finger technique. Here is our easy step-by-step tutorial:
Step 1: Cut Paper Shapes
For the first step, young toddlers will need help.
Draw your preferred shape on a piece of paper and cut it out.
2. Place Shapes
Now put tape on the back of your cut shapes and attach them to your drawing paper.
3. Spray Paint
Now let your child dip the toothbrush in the paint and teach them how to run their fingers along the edges to spray the paint on the paper. It might take some concentration and practice for your child to practice this step.
Make sure your kids are using plenty of spray paint, especially around the corners of their cutouts for better effects.
4. Remove Cutouts
After step 3 is finished let your paint try and remove afterward carefully your taped shapes. Your brush spray painting is finished now!

Are you interested in more kid’s activities and arts & crafts?
Subscribe to our newsletter now and never miss an update!
Click here
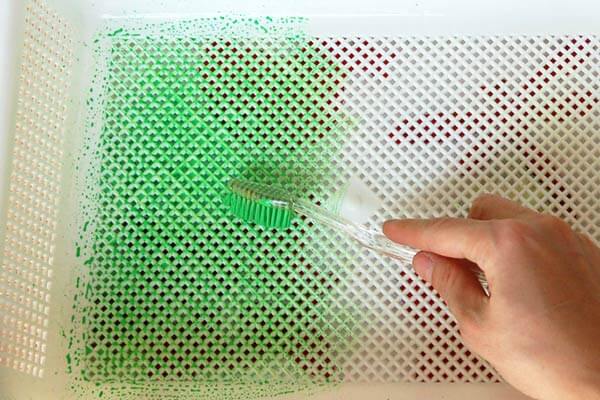
3. Kitchen Strainer Technique
As mentioned before for the following toothbrush technique simply follow steps 1-2 from the finger method and simply use for step 3 with the help of a kitchen strainer.
The kitchen strainer makes it a little bit easier for younger toddlers to participate but brings the same effects and amount of fun.
The full tutorial can be found here.

Toothbrush Painting Ideas
Now after you learned all about the different spray and drawing techniques for toddlers and preschoolers, I like to give you some great arts and crafts spray paint ideas:


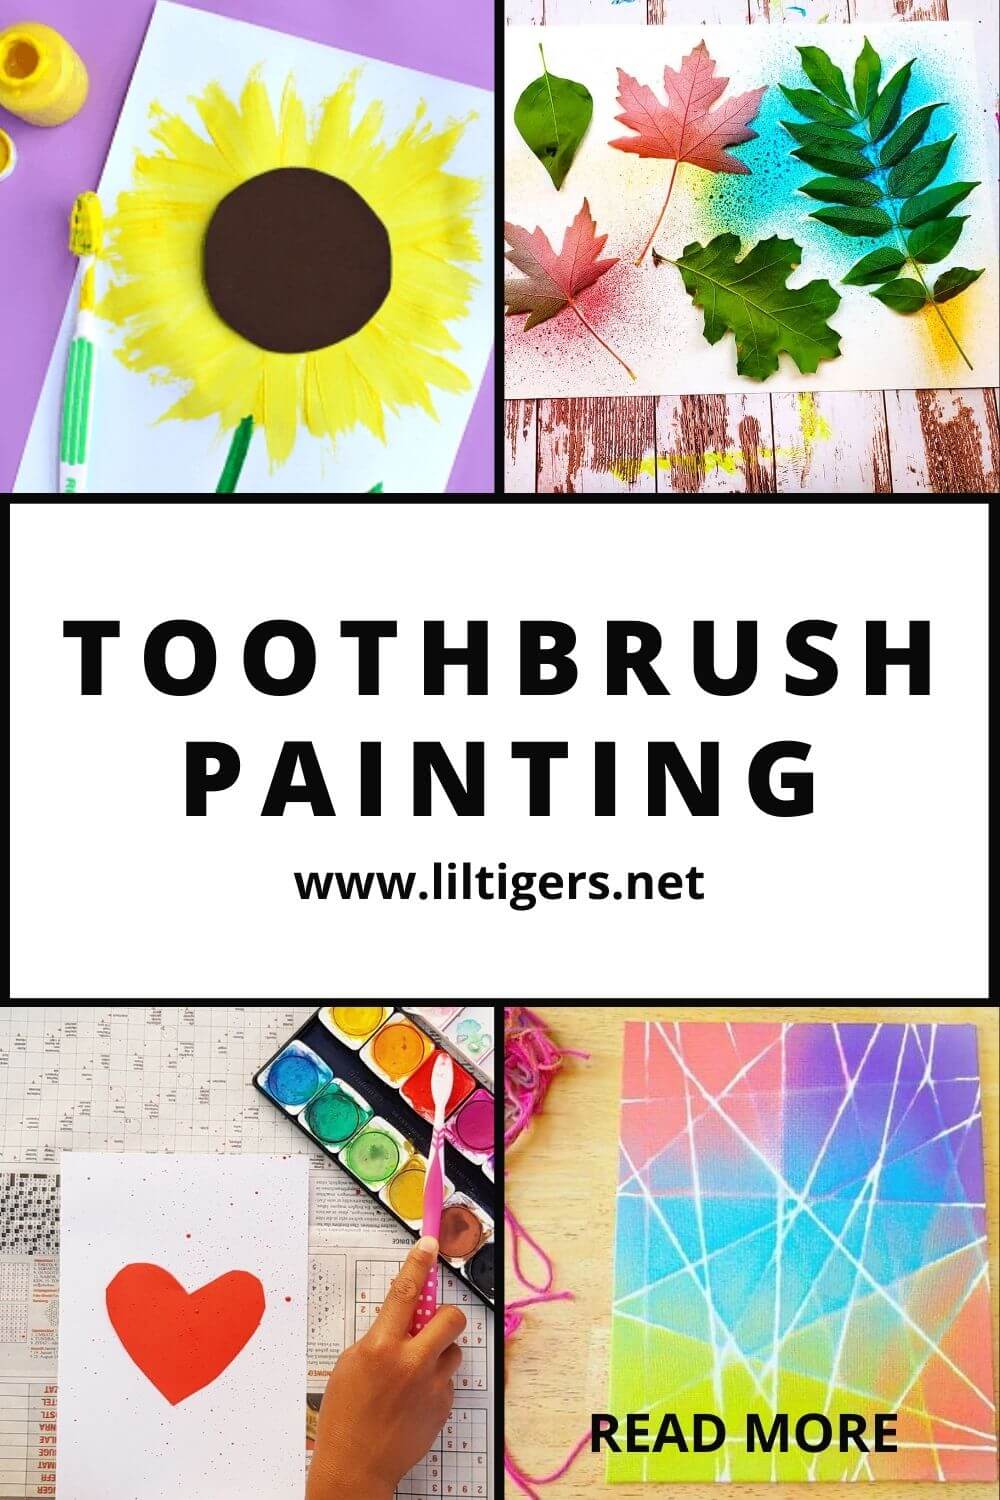
1. String Art Spray Painting
This toothbrush painting idea is pretty simple but makes the most adorable modern artwork. Use strings and place them on your canvas. Then spray them with your toothbrush.
Choose one of our toothbrush spray techniques above. Afterward, wait till the paint is dried and remove the strings.
2. Flower Toothbrush Craft
For our flower art, you need a paintbrush as well. Paint the stem and leave it with it. Then use your toothbrush and paint the yellow sunflower petals. When it is dried you can add your cut-out circle in the center of the flower.
3. Leave Art
Before you can start with this fun leave art you will have to go for a nice walk and collect a couple of leaves. Simply place them on your coloring paper or canvas and spray around them. After the paint is dried you can remove them.
Your spray painting leaves art is finished now and can be hung up on the wall.
4. Comb Spray Art
This toothbrush painting technique is a little bit different. But even seems a little bit easier for toddlers to manage. Instead of using your finger to spray the color on your sheet, use a comb instead.
Looks cool don’t you think?
Here is the toothbrush painting video I promised! Doesn’t this look fun?
Pin This Toothbrush Art Guide
Don’t forget to save our toothbrush art for preschoolers on Pinterest for later! Be sure you are following along with Lil Tigers.
Now it is your turn.
Did your kids enjoy their toothbrush paintings?
Either way, let me know by leaving a comment below right now.
I would love to hear from you!