
Did you ever dye eggs with shaving cream?
You should give this easy kids-friendly technique a try. Your kids will love it!
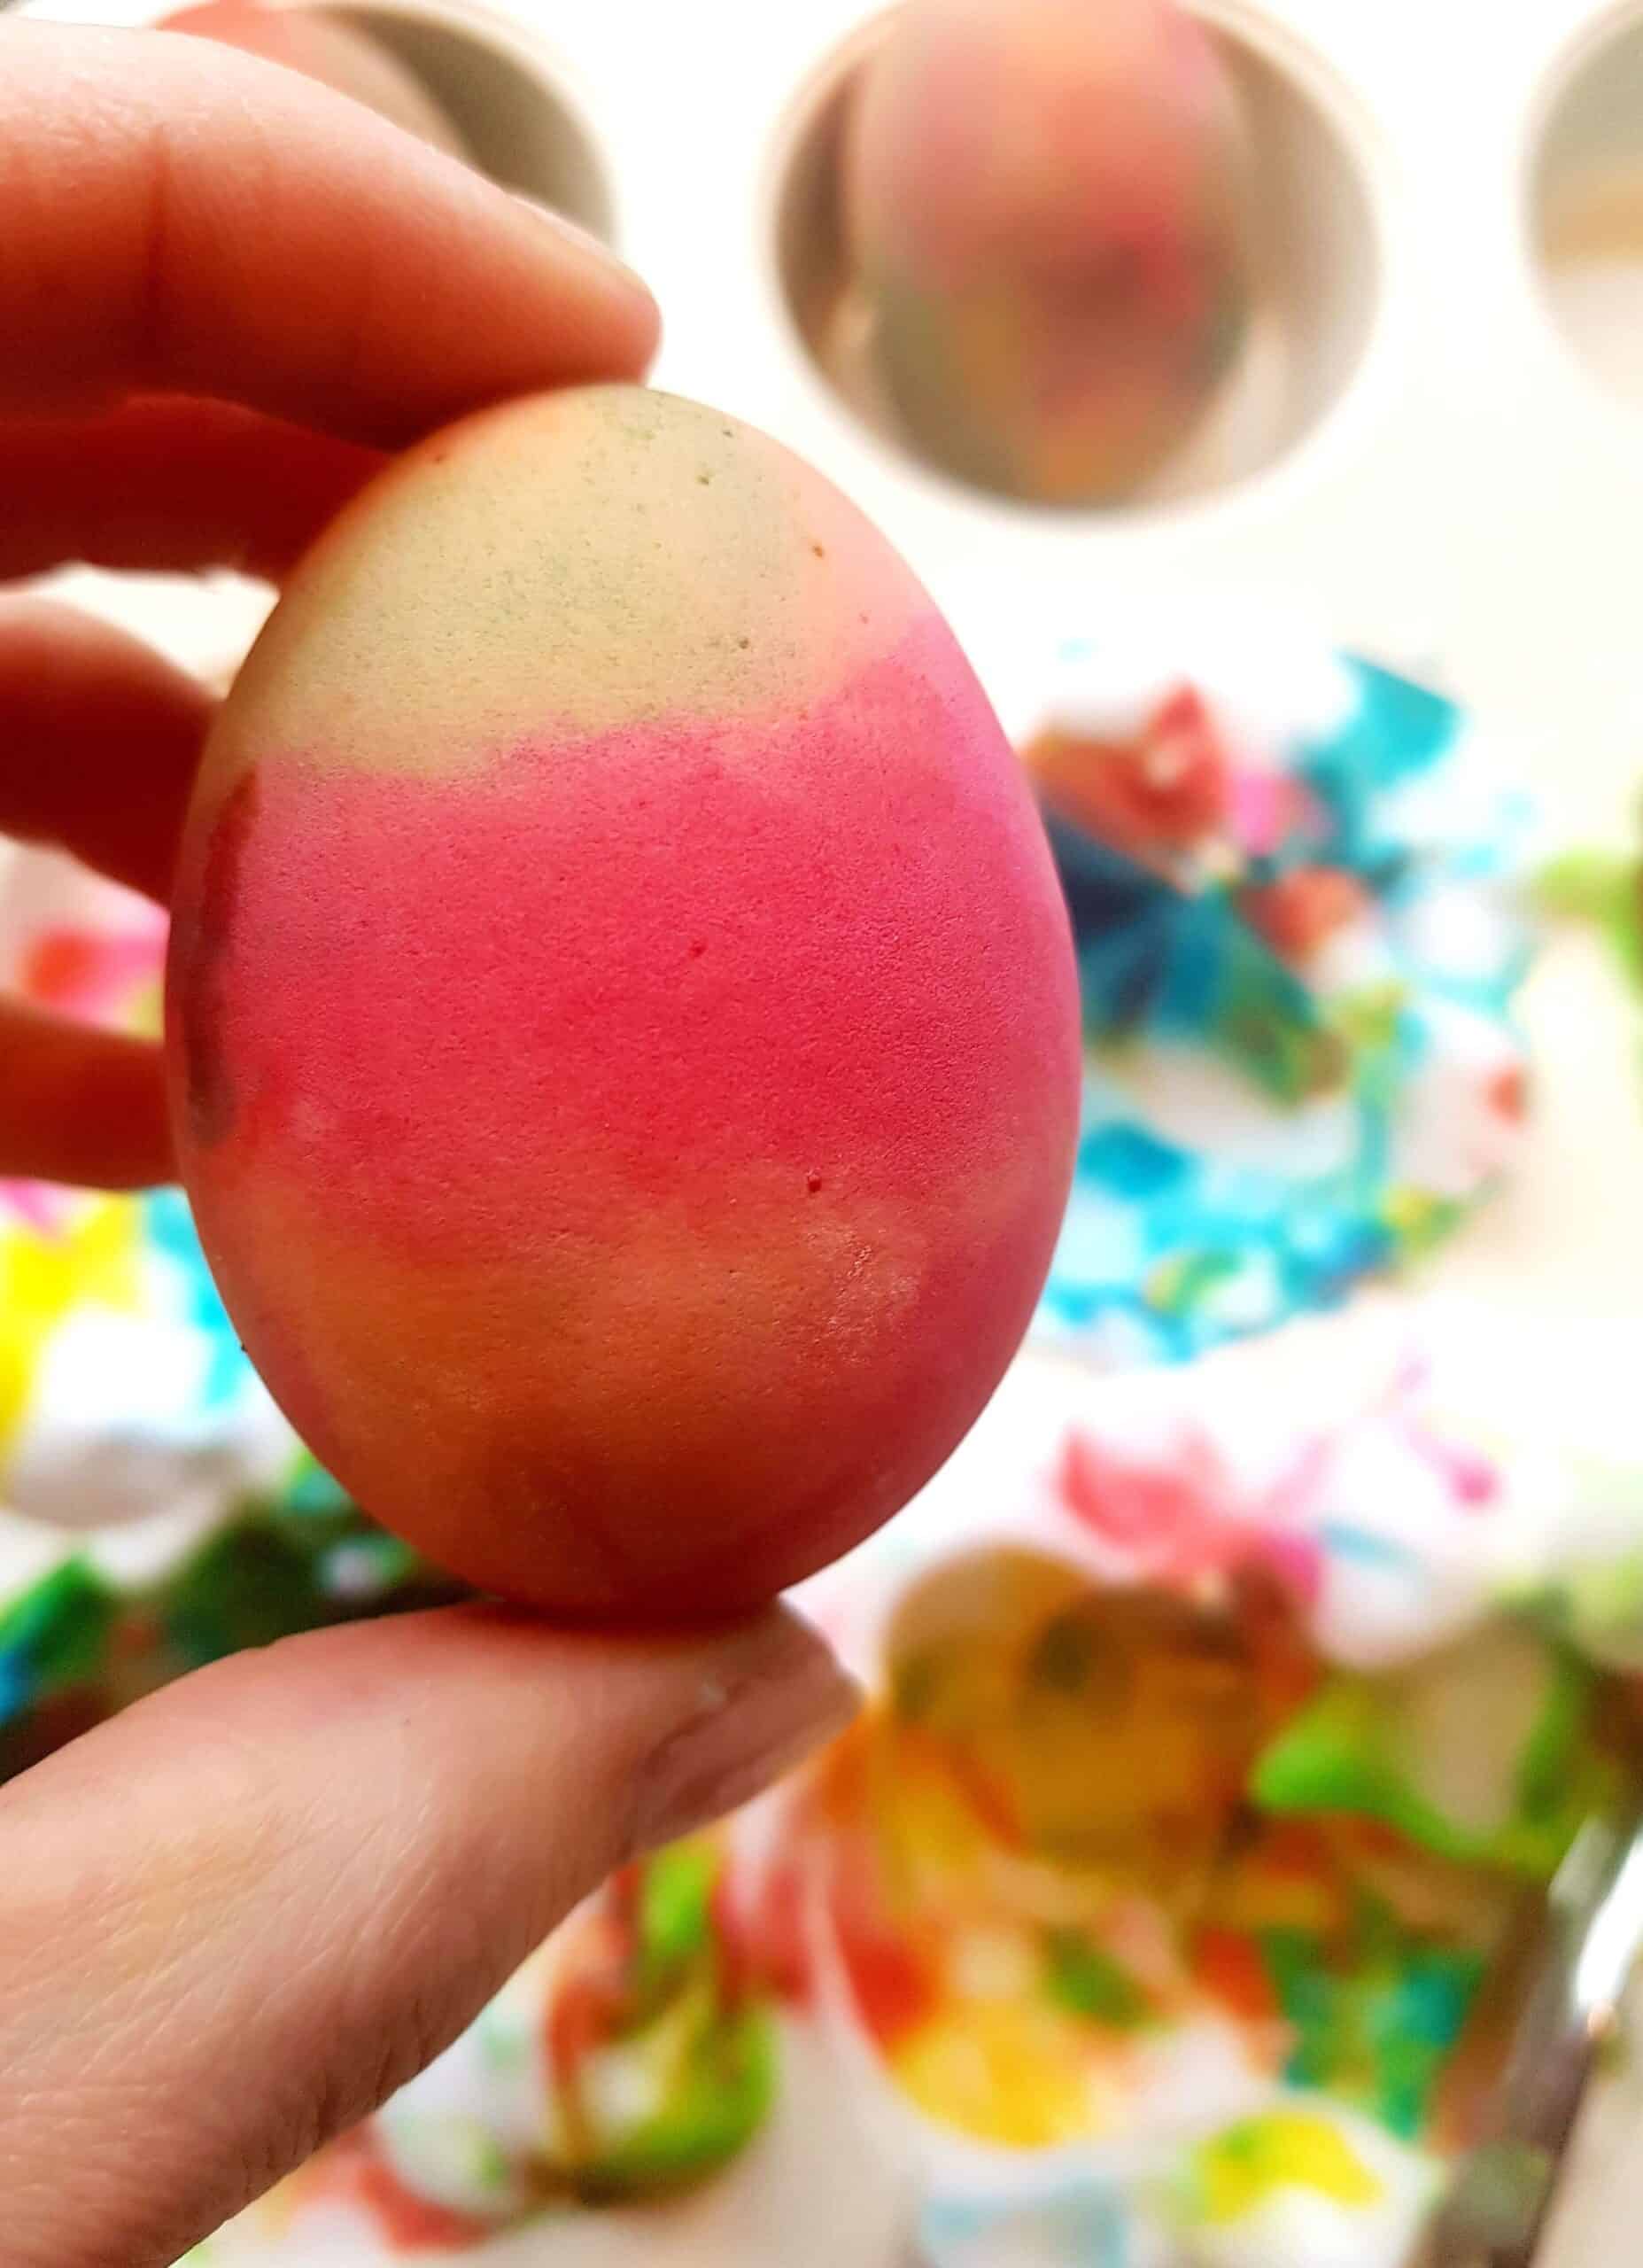
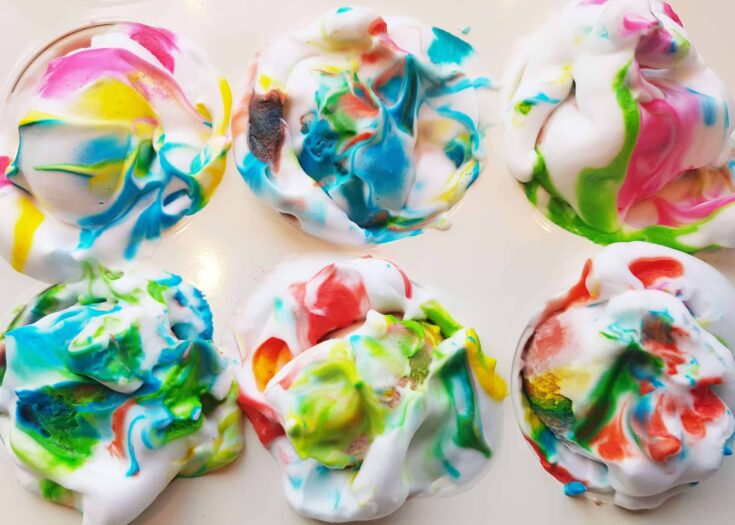
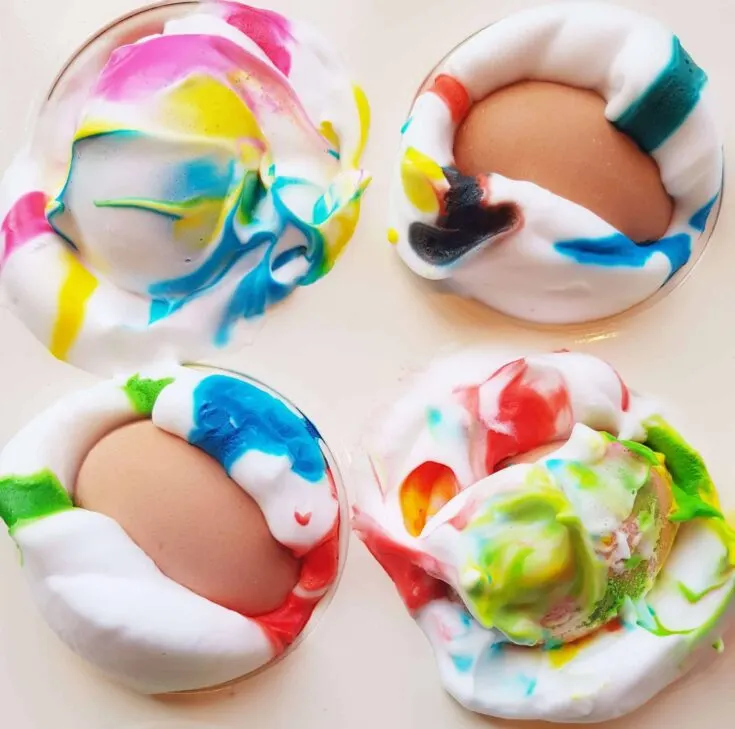
In fact, all you need is shaving cream and food coloring to create the most beautiful marbleized Easter eggs.
Let’s dive right in and find out how it works.

Shaving Cream Dyed Easter Eggs
Have you ever wondered how to dye eggs with food coloring?
Then it is time to ditch the vinegar and dye eggs with shaving cream instead.
It is the perfect Easter egg craft for kids of all ages. This hands-on Easter egg activity will give your children the chance to participate in every step while having a blast.
Are you interested in more kid’s activities, arts & crafts, and science experiments?
I have made it easy for you! Simply join our newsletter now and I will send you new fun for kids.
Subscribe for free
How to Dye Easter Eggs With Shaving Cream
But let’s take a look now at this easy shaving cream egg dye project.
Here is what you will need to make these stunning marbleized Easter eggs:
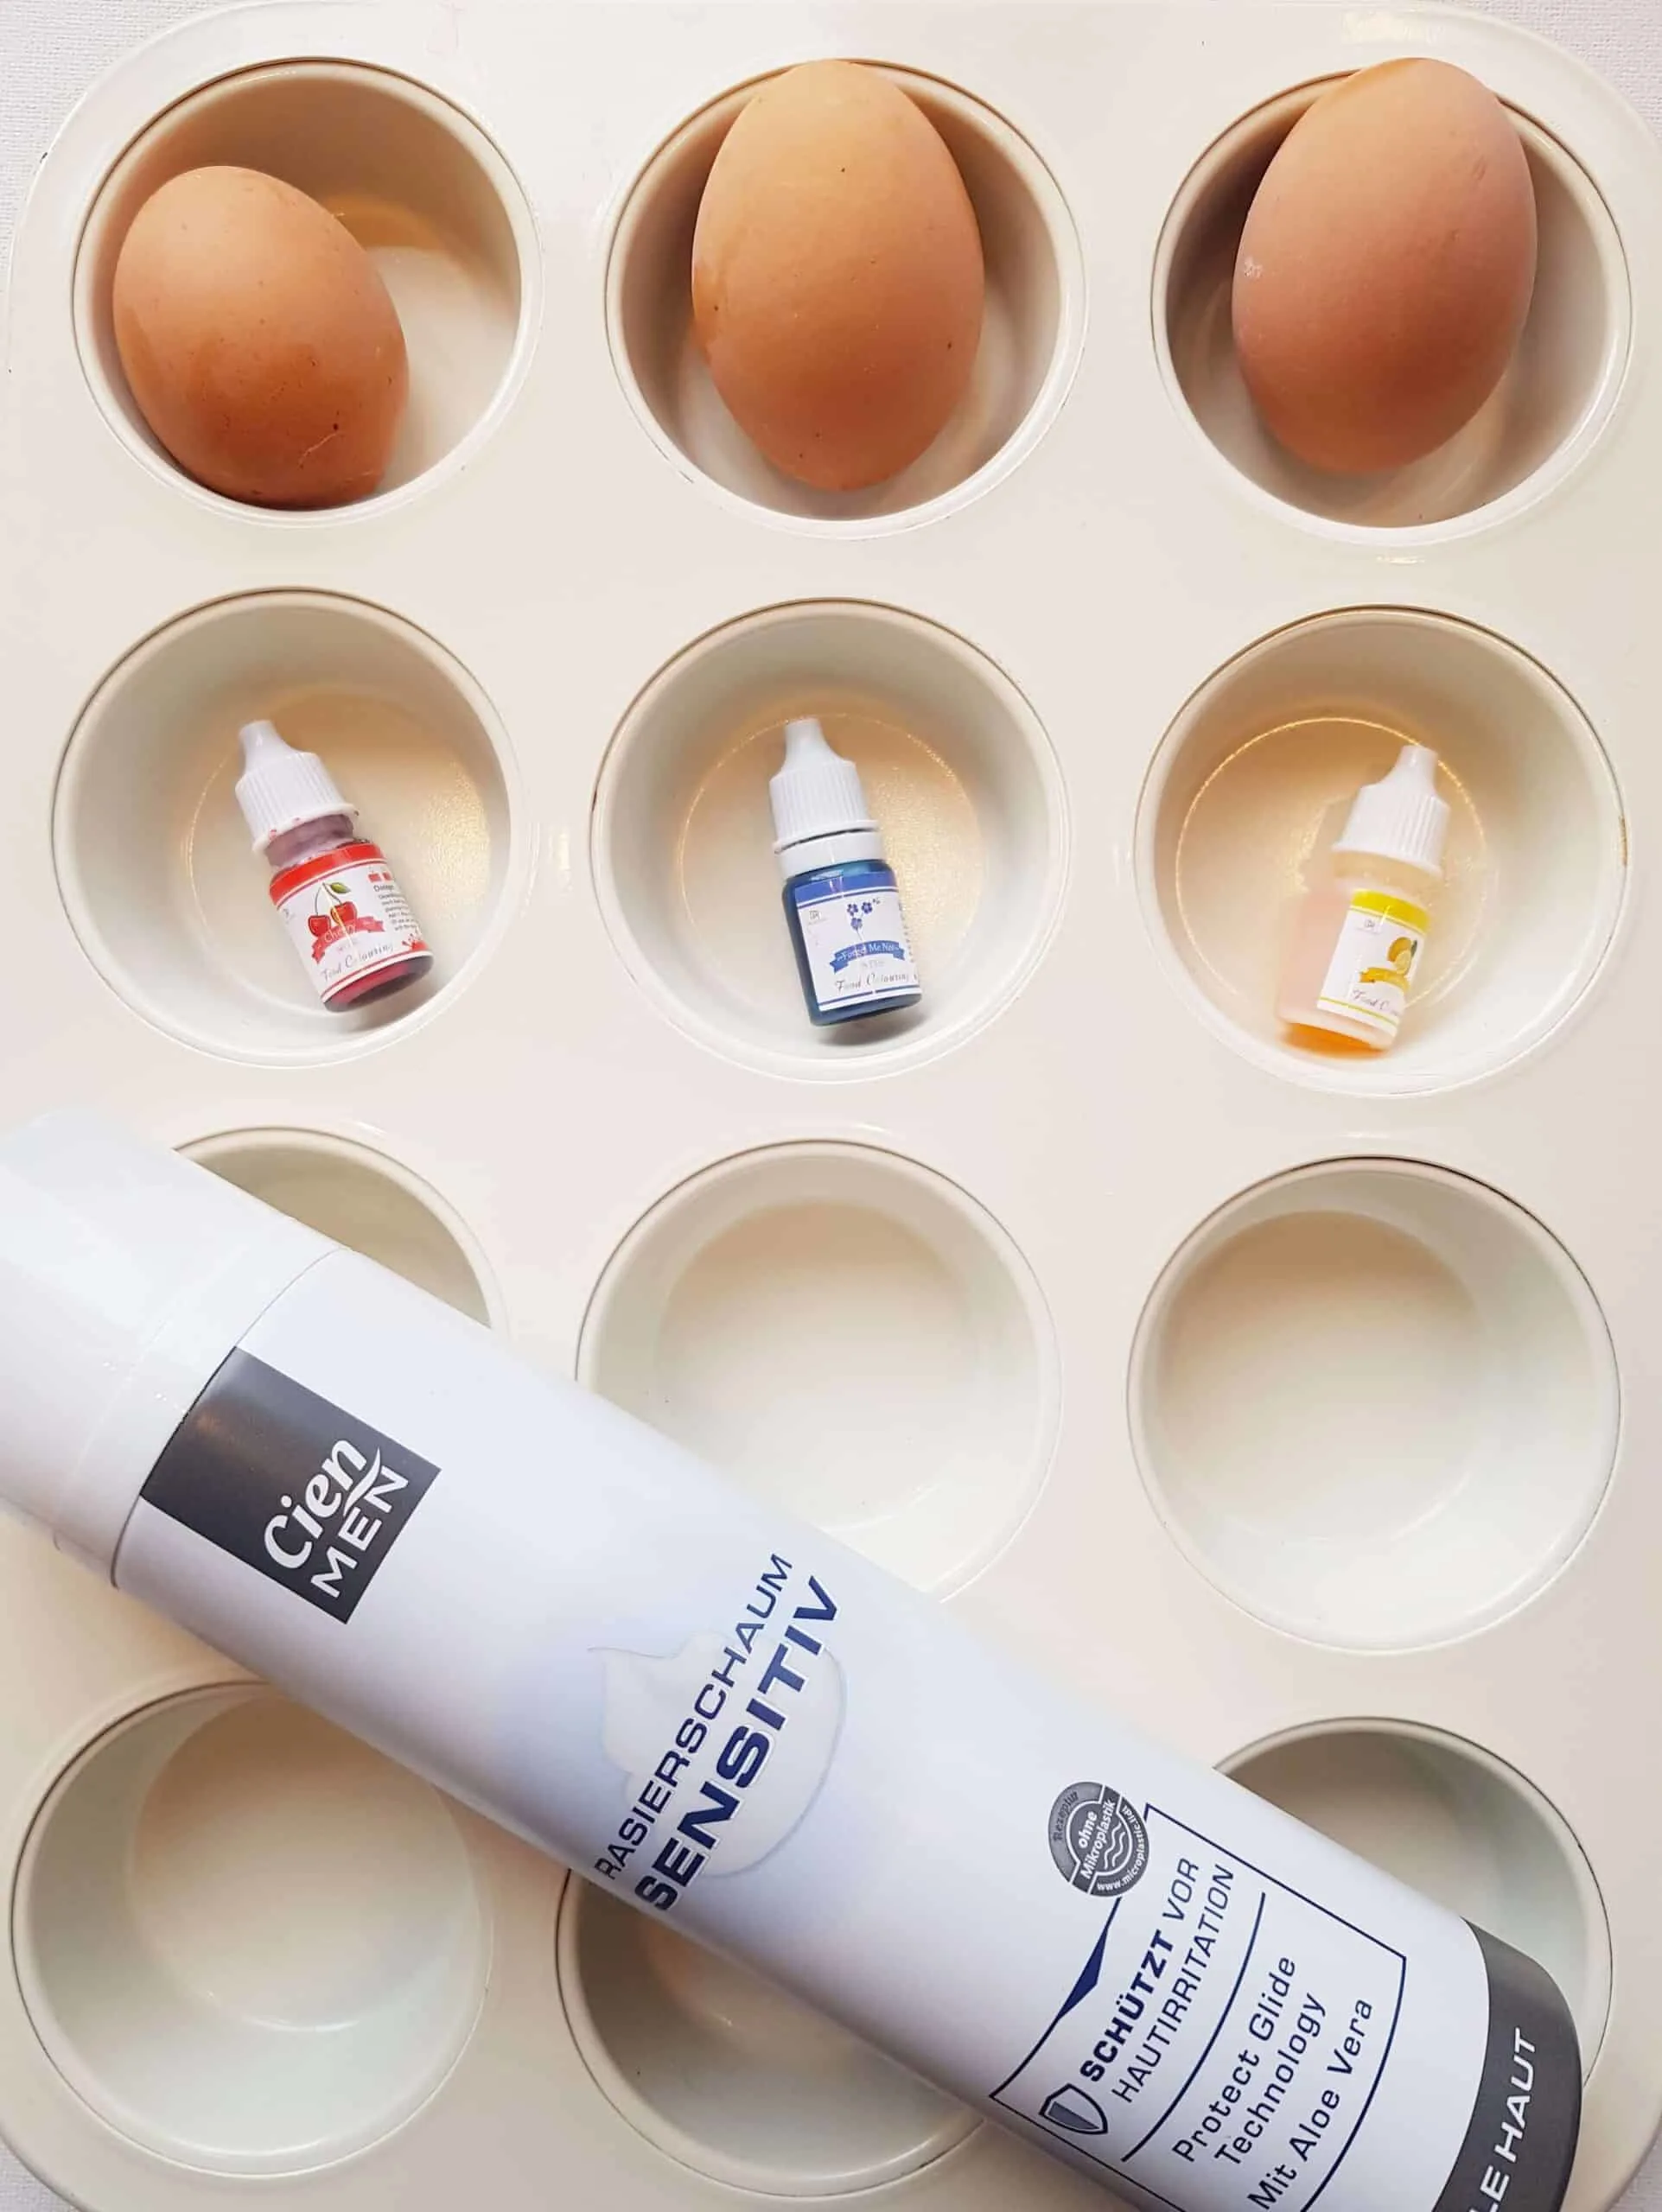
Shaving Cream Easter Eggs Materials
- Eggs
- Shaving cream
- food coloring
- muffin tin
- paper towels

Easter Egg Dying with Shaving Cream Instruction
These step-by-step instructions are here to help you visualize how to make this Easter craft. Happy crafting!
Time needed: 45 minutes
Shaving Cream Easter Eggs
- Boil Eggs
Start with 6 – 12 eggs depending on the size of your muffin tray. Hard boil them first.
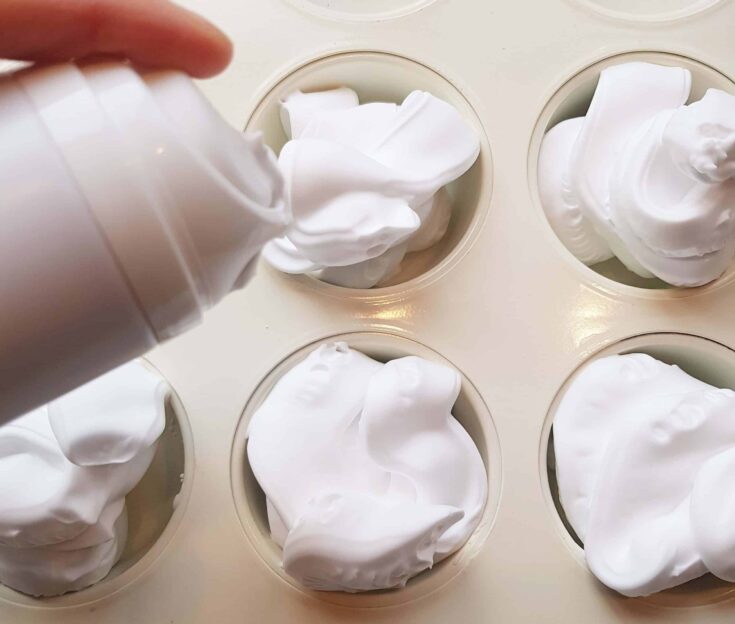
- Prepare Muffin Tray
Spray foam shaving cream into your muffin tin.

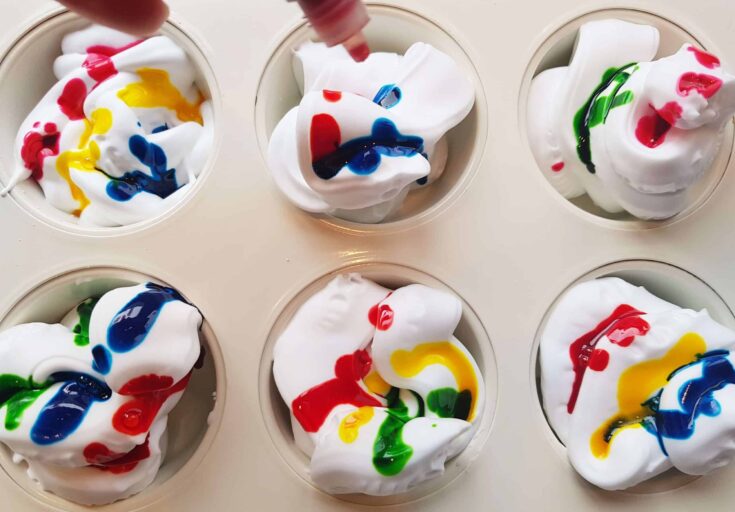
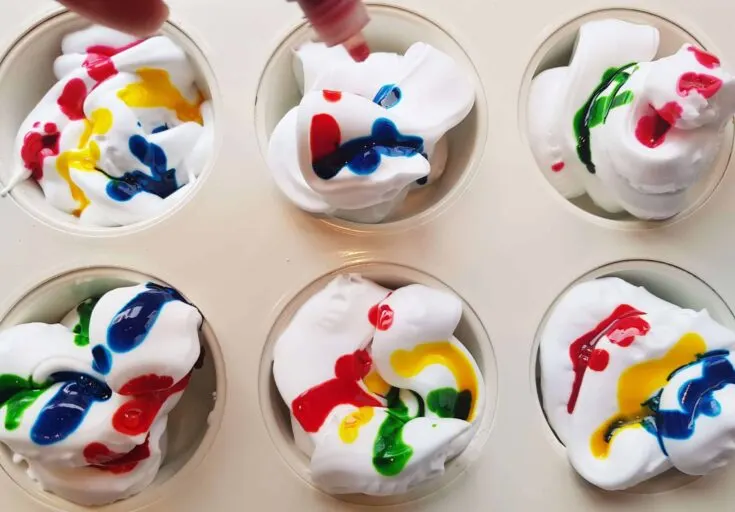
- Add Food Coloring
Then add a couple of food coloring drops on top of it. I used different colors to create marbleized eggs.

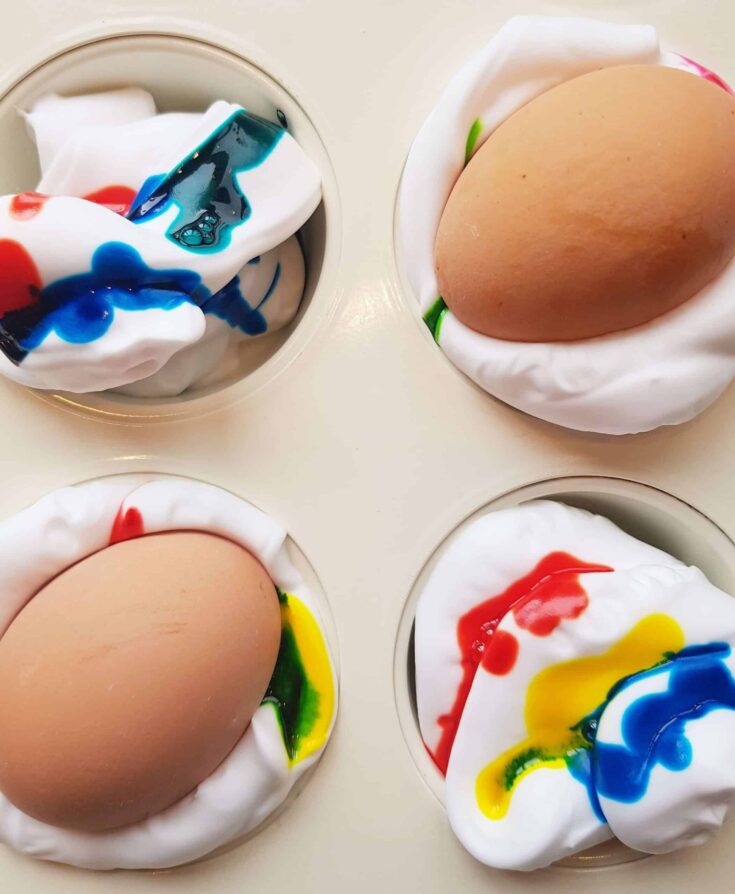
- Dye Eggs
Afterward, gently place your tried of hard-boiled eggs with a spoon in the prepared muffin tray.

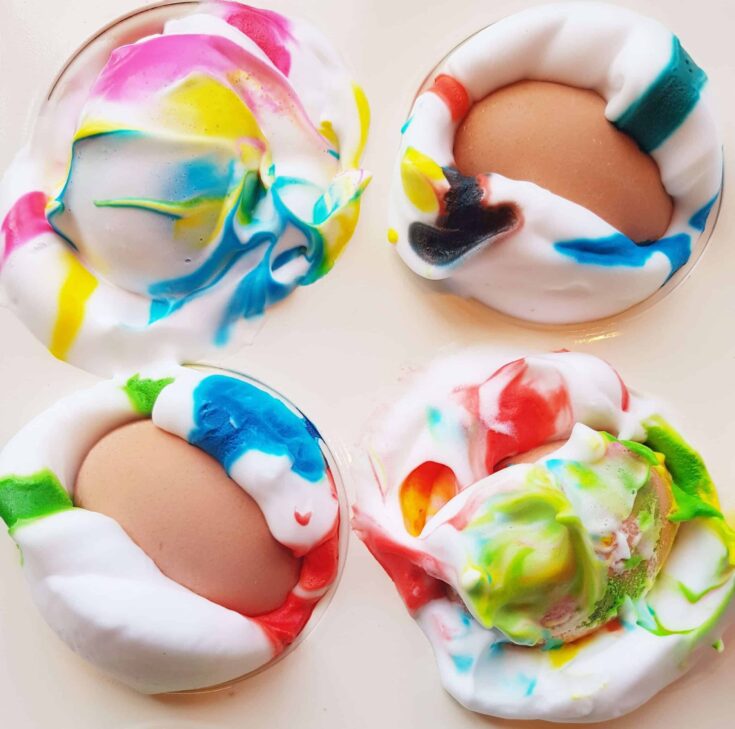
- Turn Your Eggs
Turn your eggs after 15-20 minutes and wait another 15-20 minutes. The longer you let your eggs sit, the brighter the colors are going to be.

- Clean Your Eggs
Now it is time to take your eggs out of the shaving cream and clean them gently with paper towels off.

- Let them try
After you clean your eggs set them aside and let them try.


You might also like some of our other spring and Easter activities. Take a look at this fun DIY pom pom tree, 10 Adorable Chicken Crafts, Easter Card Ideas, Cute Bunny Quotes, or these wonderful Educational Easter worksheets.
Shaving Cream Easter Egg Dye Tips
- This fun egg dye project works better with white eggs.
- Do you have a small toddler in the house who loves to put everything in his or her mouth? Try Cool Whip to be on the safe side!
Summary
My whole family loved this project. After all, the eggs were dyed they used the leftover foam to play around.
Be aware it can be a messy project and the food coloring ends up on hands and cloth.
After the eggs were tried I was surprised that the colored eggs do not color your hands when touching them.
We really enjoyed this activity and we will try this soon again!
Pin This Easter Dye Craft
Don’t forget to save this fun Easter project on Pinterest for later and be sure you are following along with Lil Tigers.
Now I would like to hear from you!
How did your kids enjoy this easy egg-dying project with shaving cream?
Either way, let me know by leaving a comment below right now.
I would love to hear from you!