
Do you want to make your own Borax Crystal Snowflake Ornaments? Then try this crafty winter science experiment and make your own crystal Christmas ornaments with your kids.
Try this Borax crystal science project. It is super easy and learns about the science behind it at the end of this article.
Do not forget to check the science behind the experiment at the end of the article.
Let’s dive right in and find out how it works.

Borax Science Experiment
This classic Borax science experiment is not only fun but also makes nice crystal ornaments for your Christmas tree or window decoration.
We love STEM projects, especially during fall or winter. You can stay cozy inside while entertaining and teaching your kids at the same time.
Therefore do not forget to check out the science behind this experiment at the end of this article.
Are you interested in more kid’s activities, arts & crafts, and science experiments?
I have made it easy for you! Simply join our newsletter now and I will send you new fun for kids.
Subscribe for free
How to Make Borax Crystal Snowflake Ornaments
But let’s take a look now at this fun Borax experiment.
Here is what you will need to make these adorable DIY science ornaments:
Borax Chrystal Materials
- large box Borax
- pipe cleaners
- dental floss
- fishing line or string scissors pencils or sticks
- jars
- water
- spoon to stir
- paper
- safety glasses (optional)
Chrystal Borax Experiment Instructions
These step-by-step instructions are here to help you visualize how to make these fun Borax ornaments. Please scroll down to simply print them out!
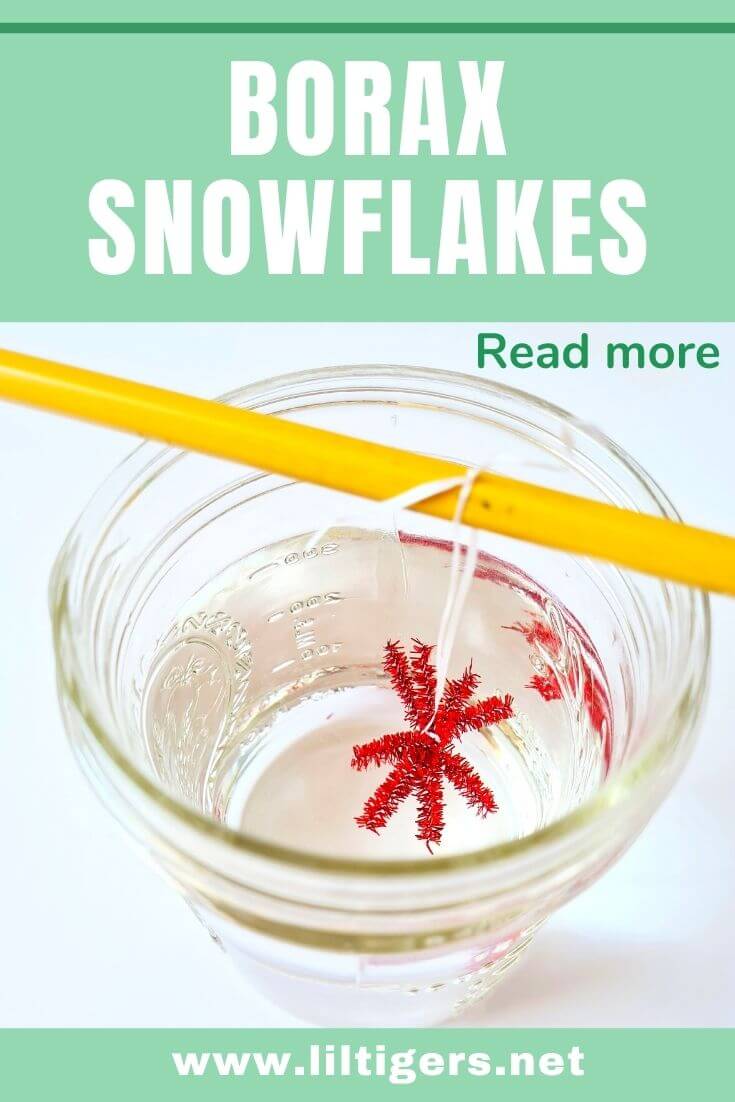
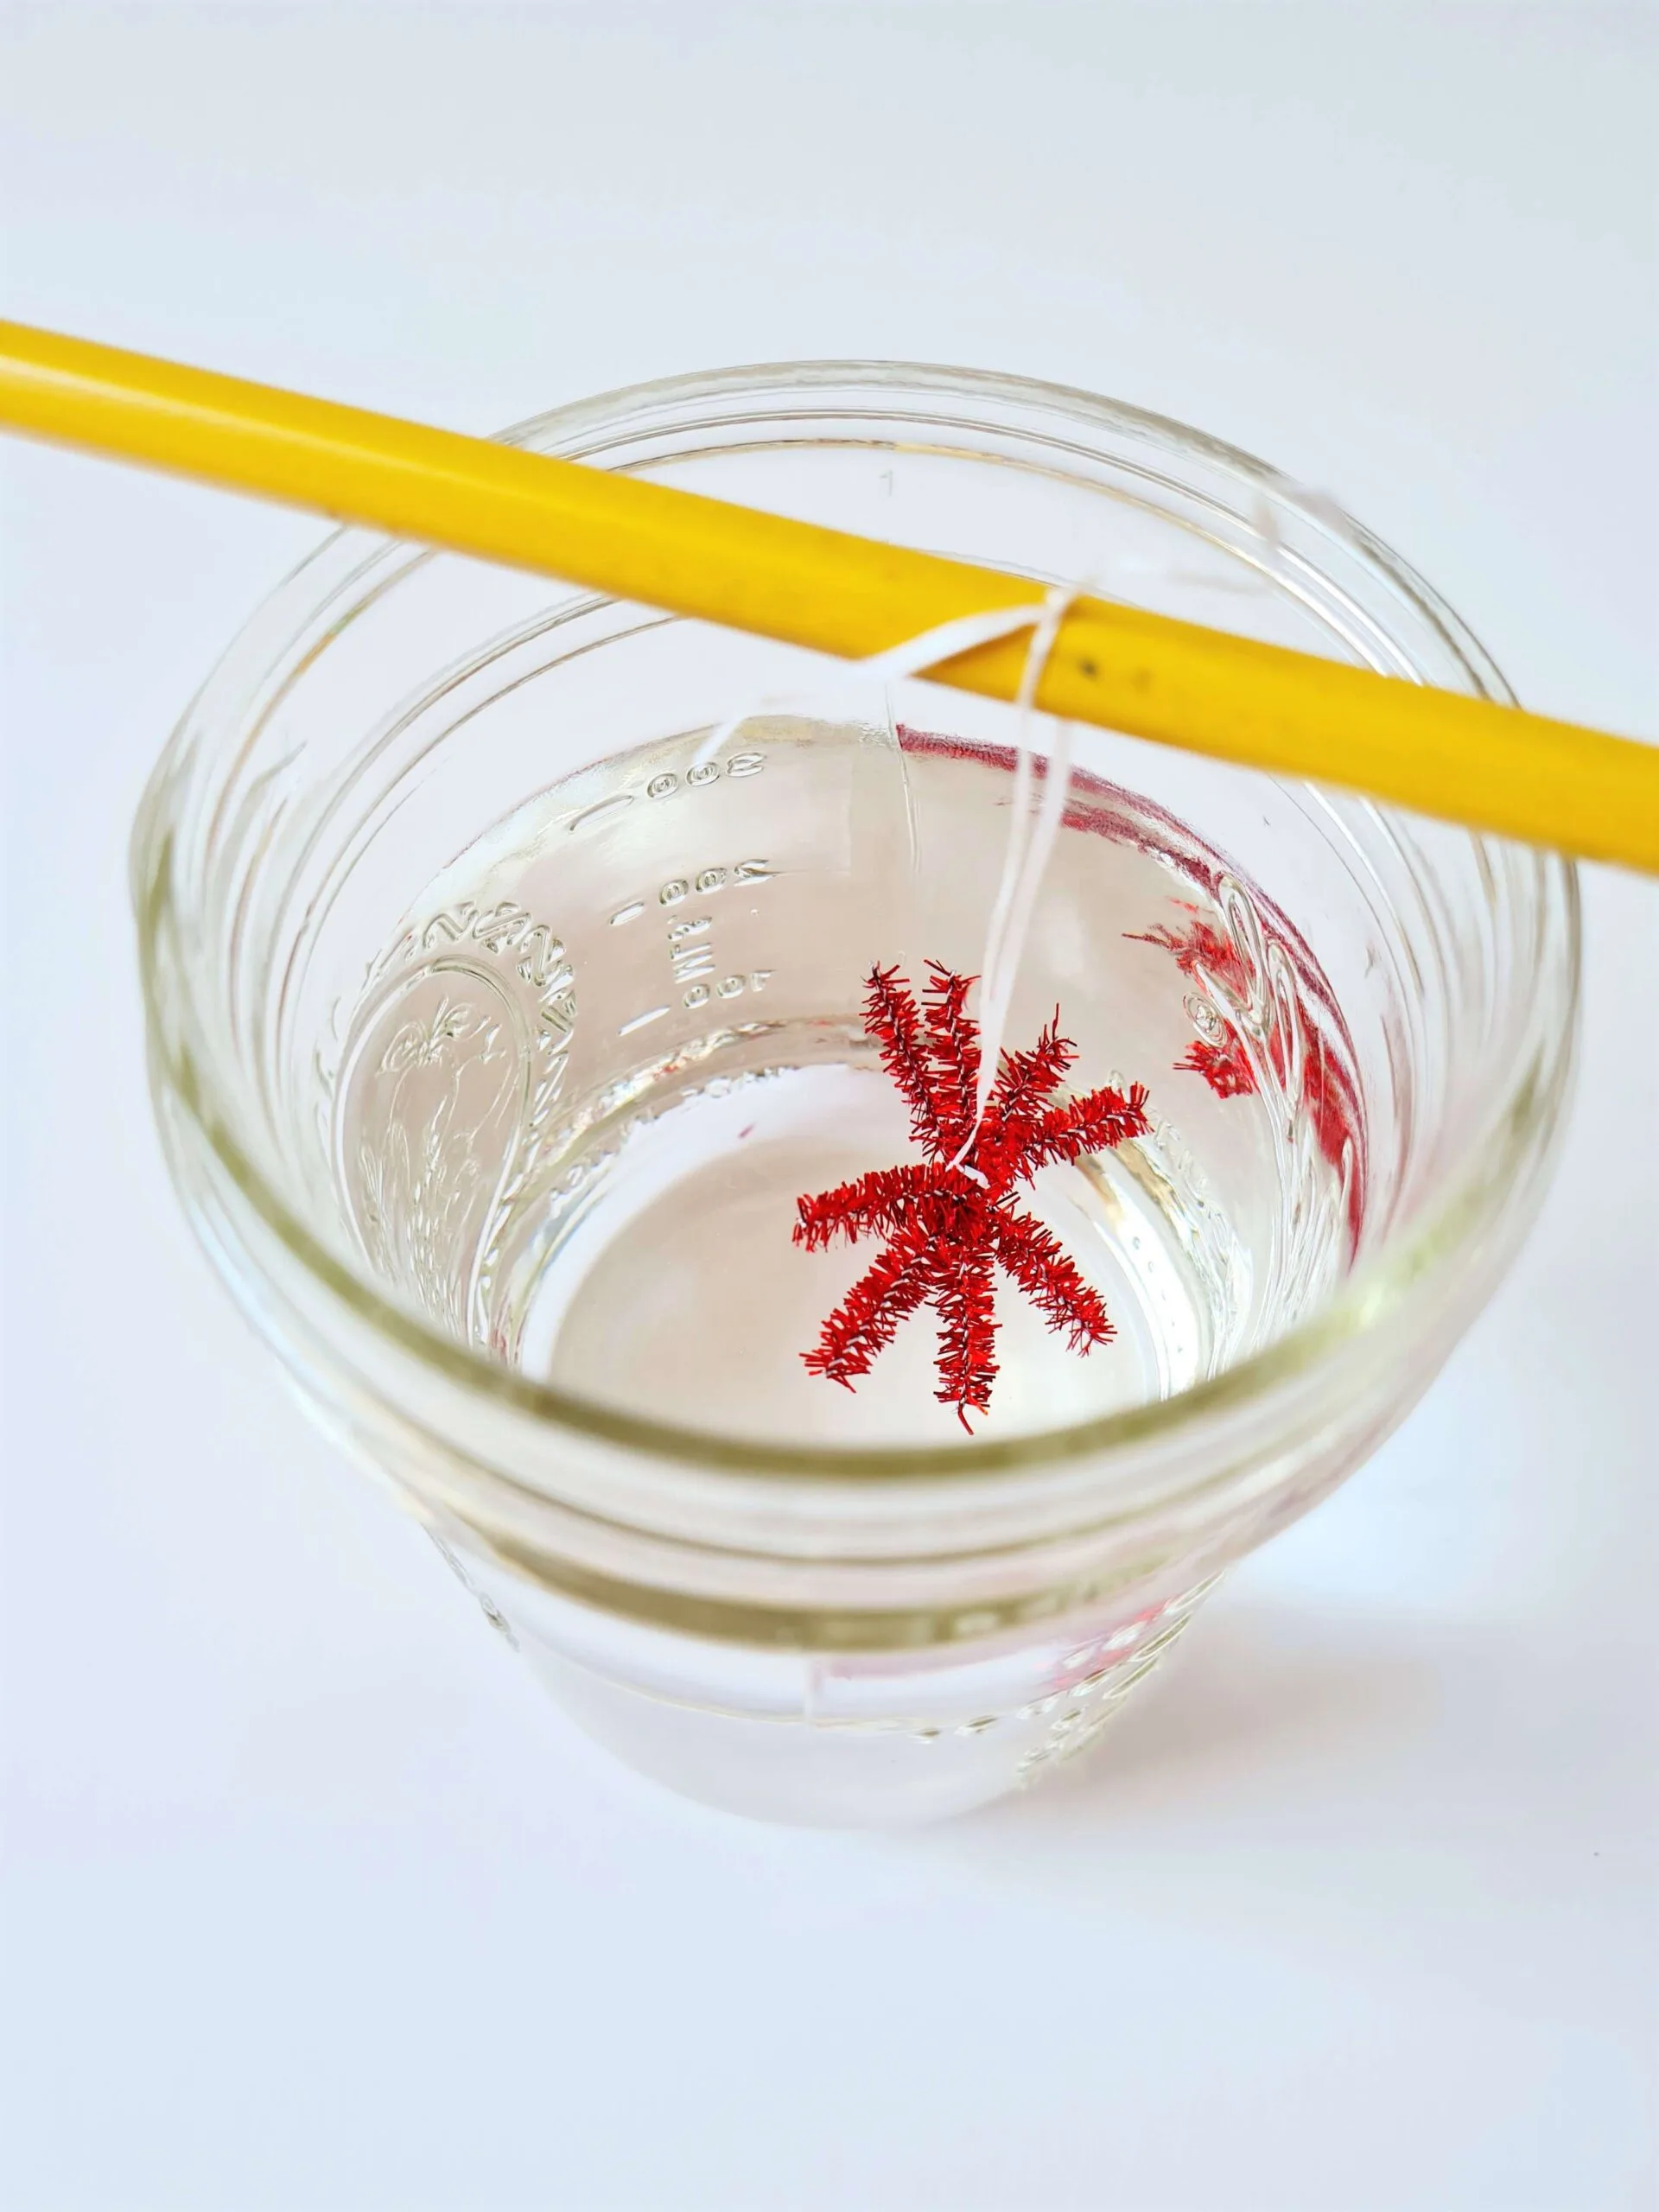
Step 1: Build Ornaments
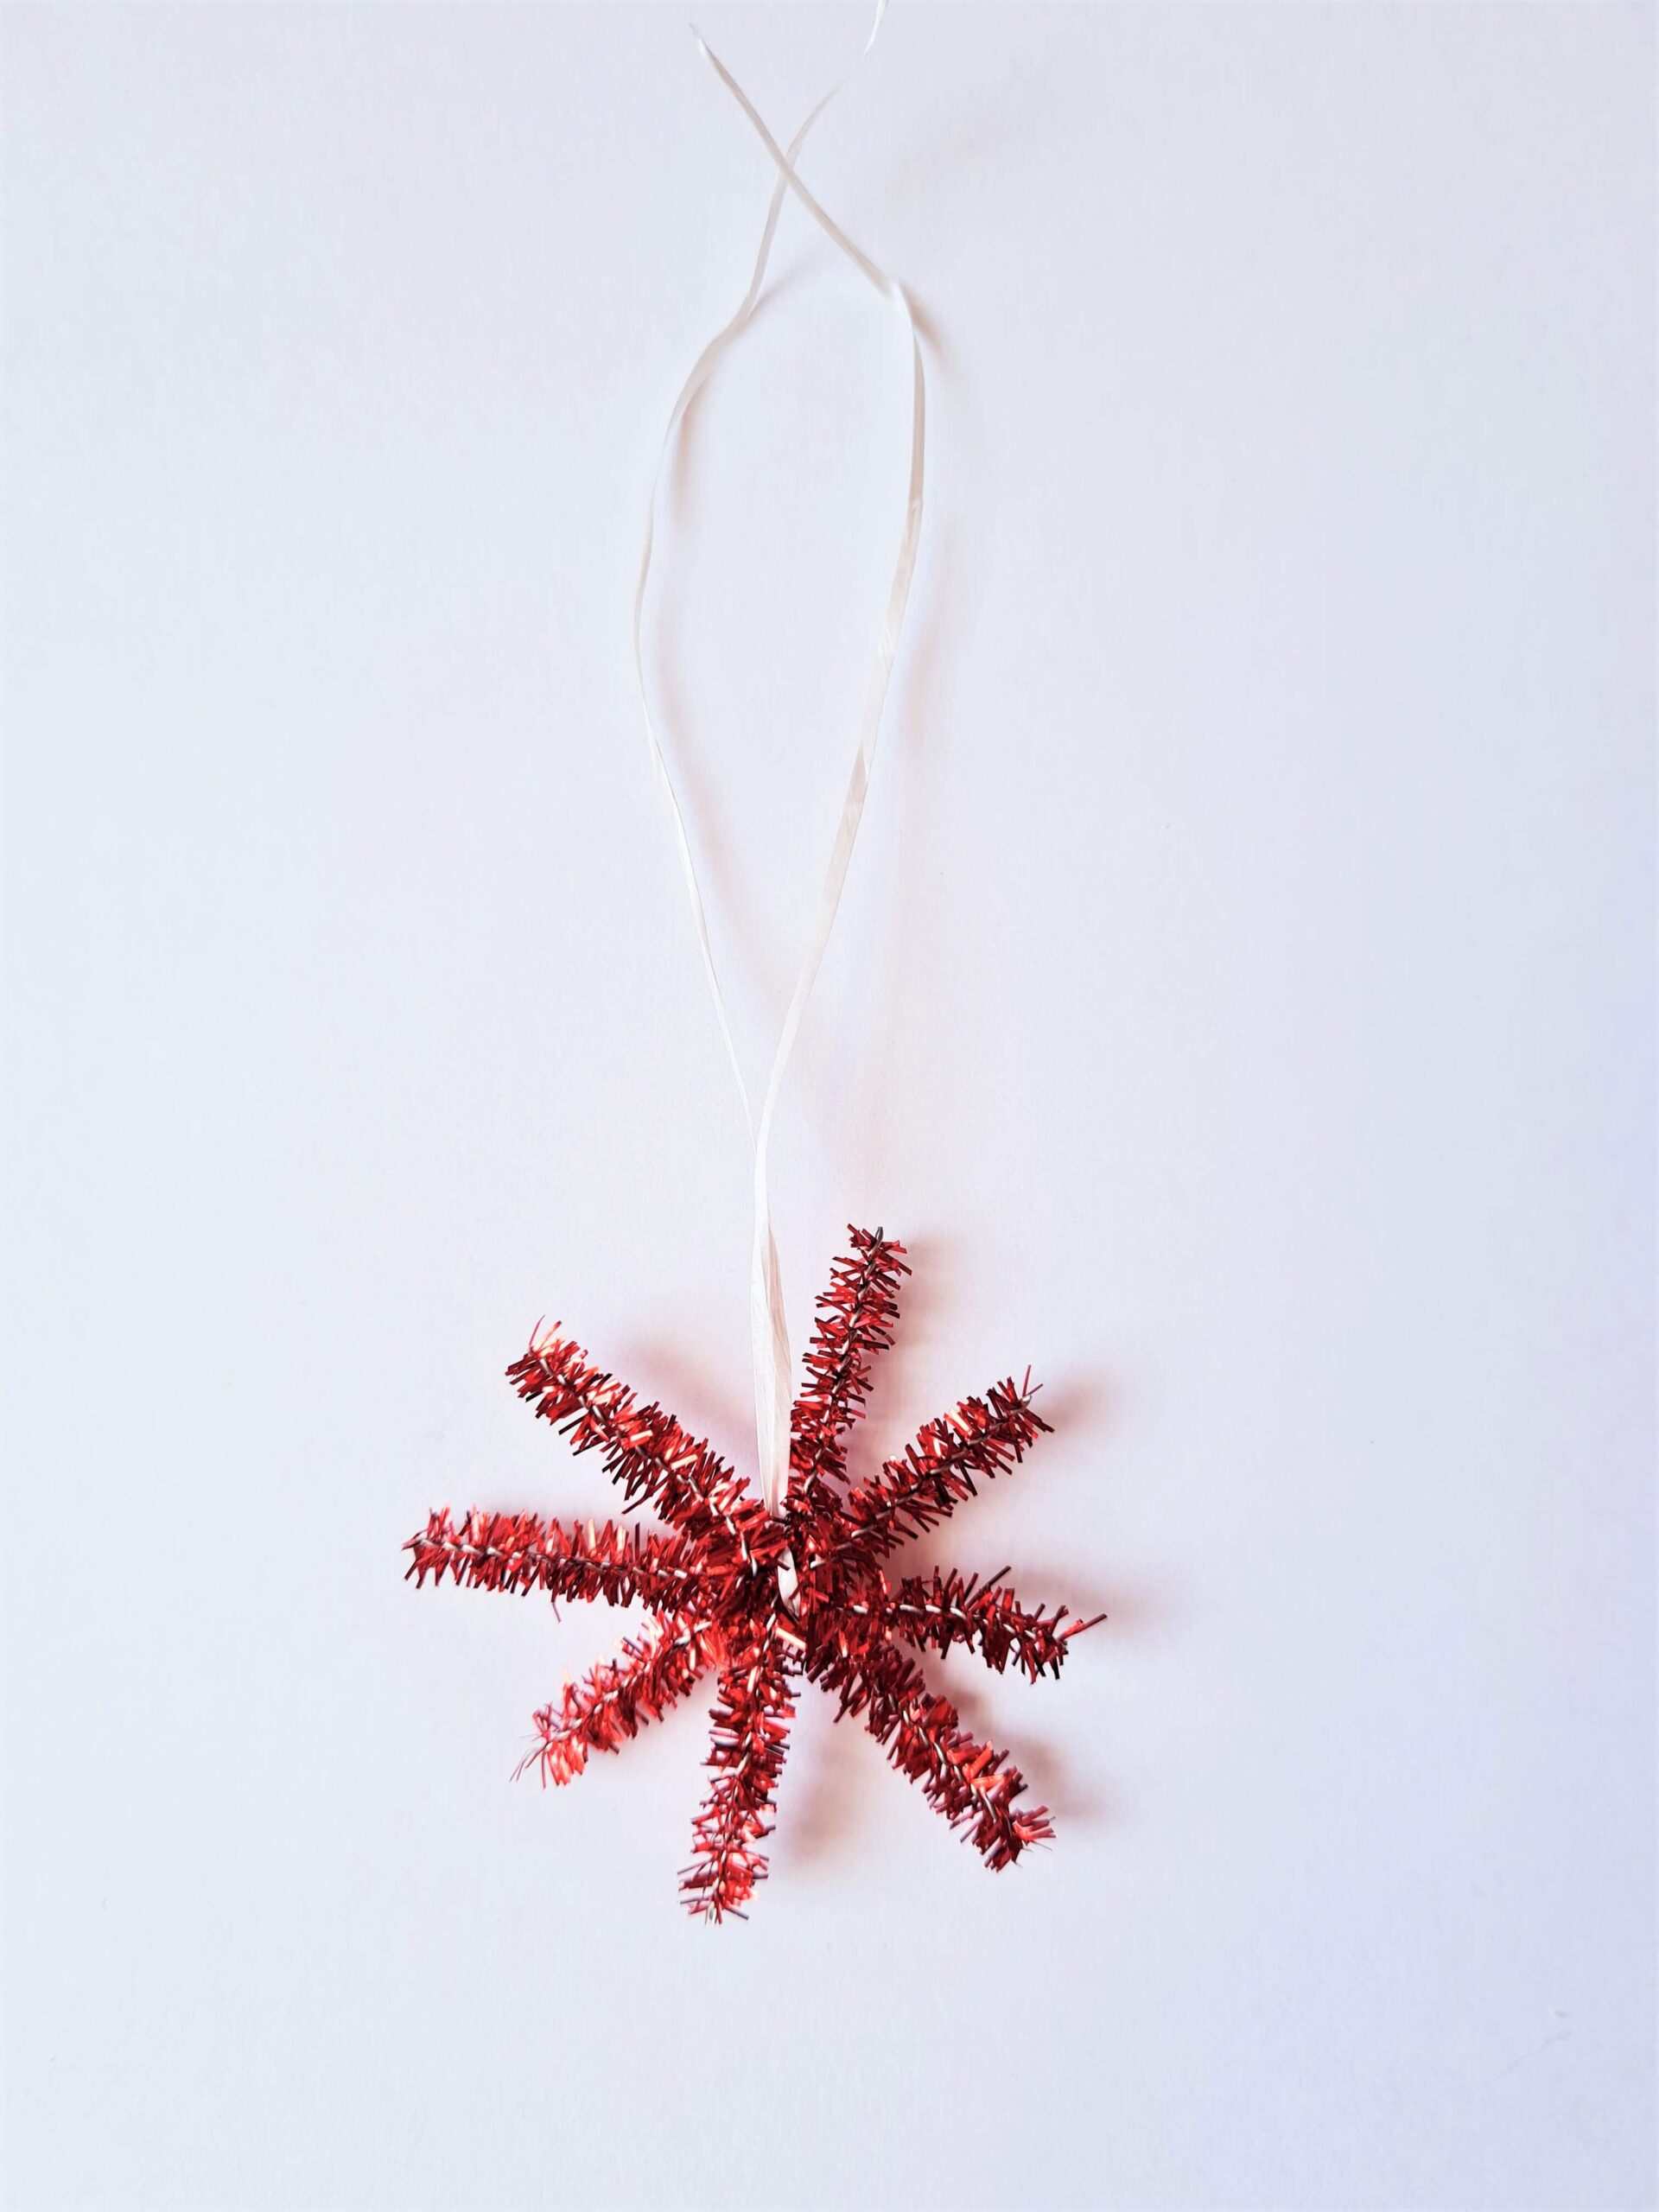
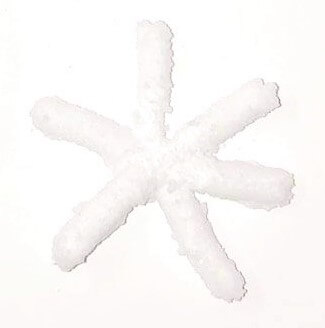
Make snowflakes or other fun winter shapes with your pipe cleaners.
I cut a pipe cleaner into 4 equal-sized pieces. Placed them onto a snowflake and twisted them in the center to hold them together.

Step 2: Add Shapes
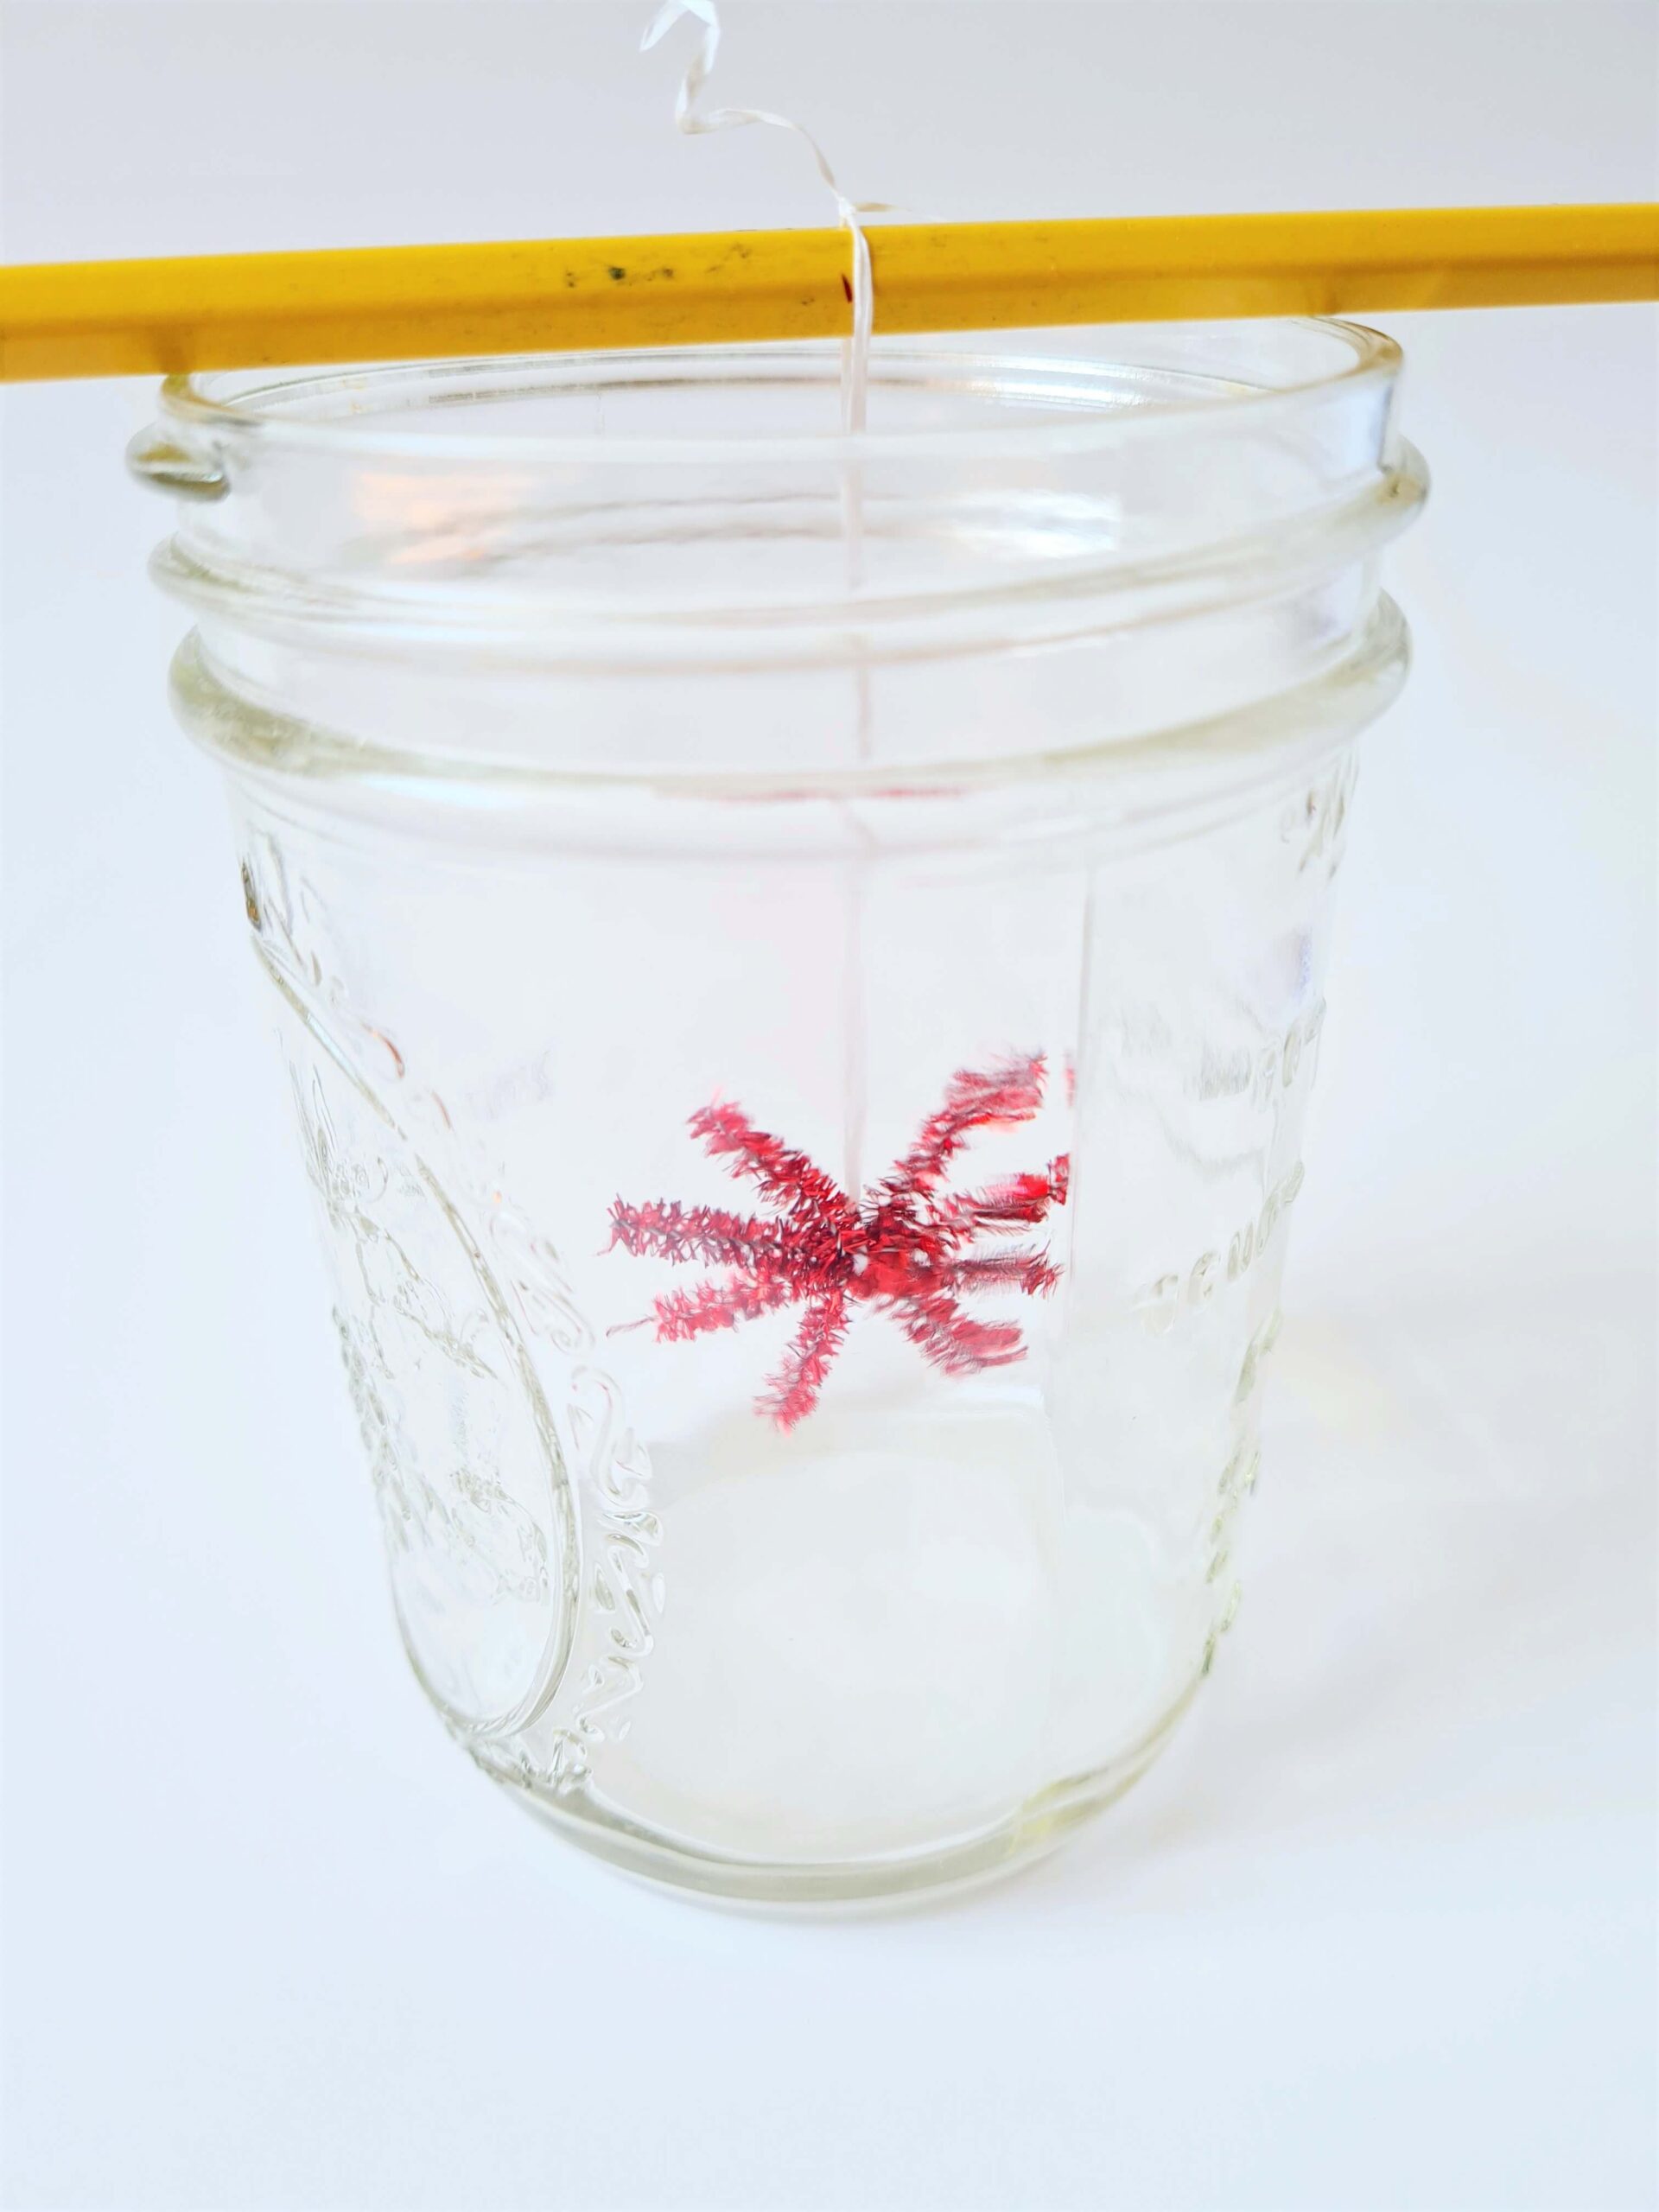
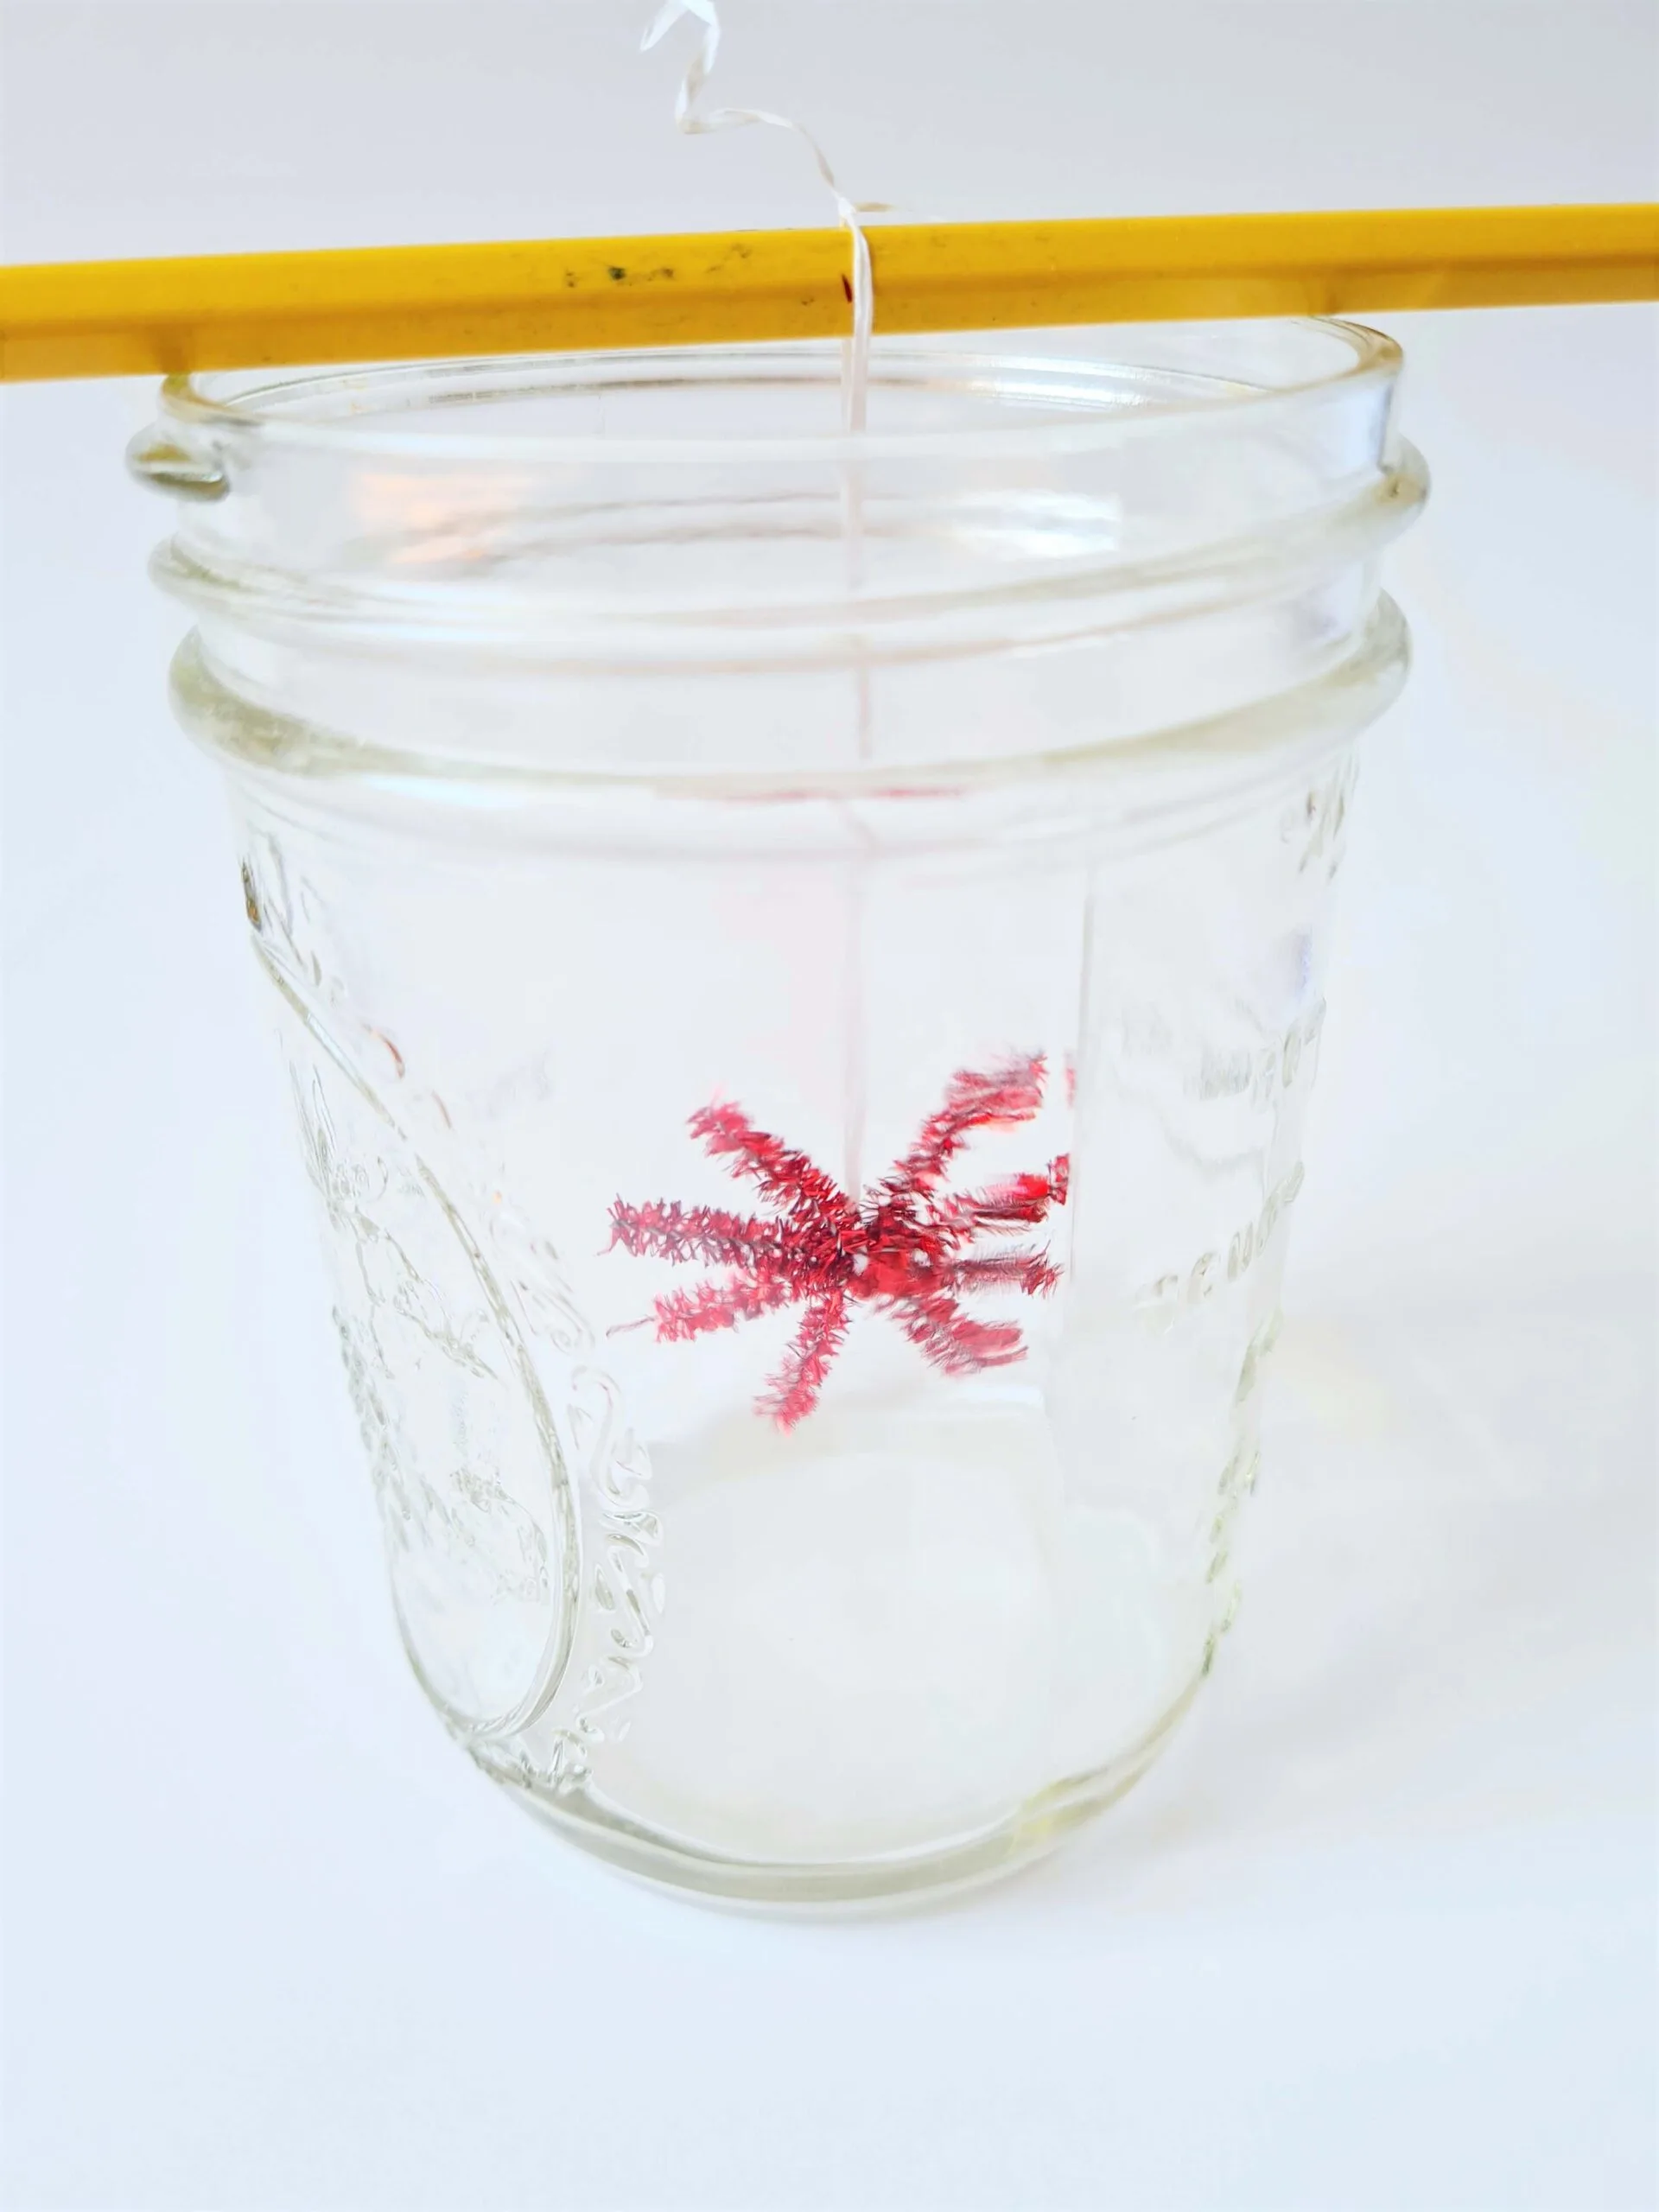
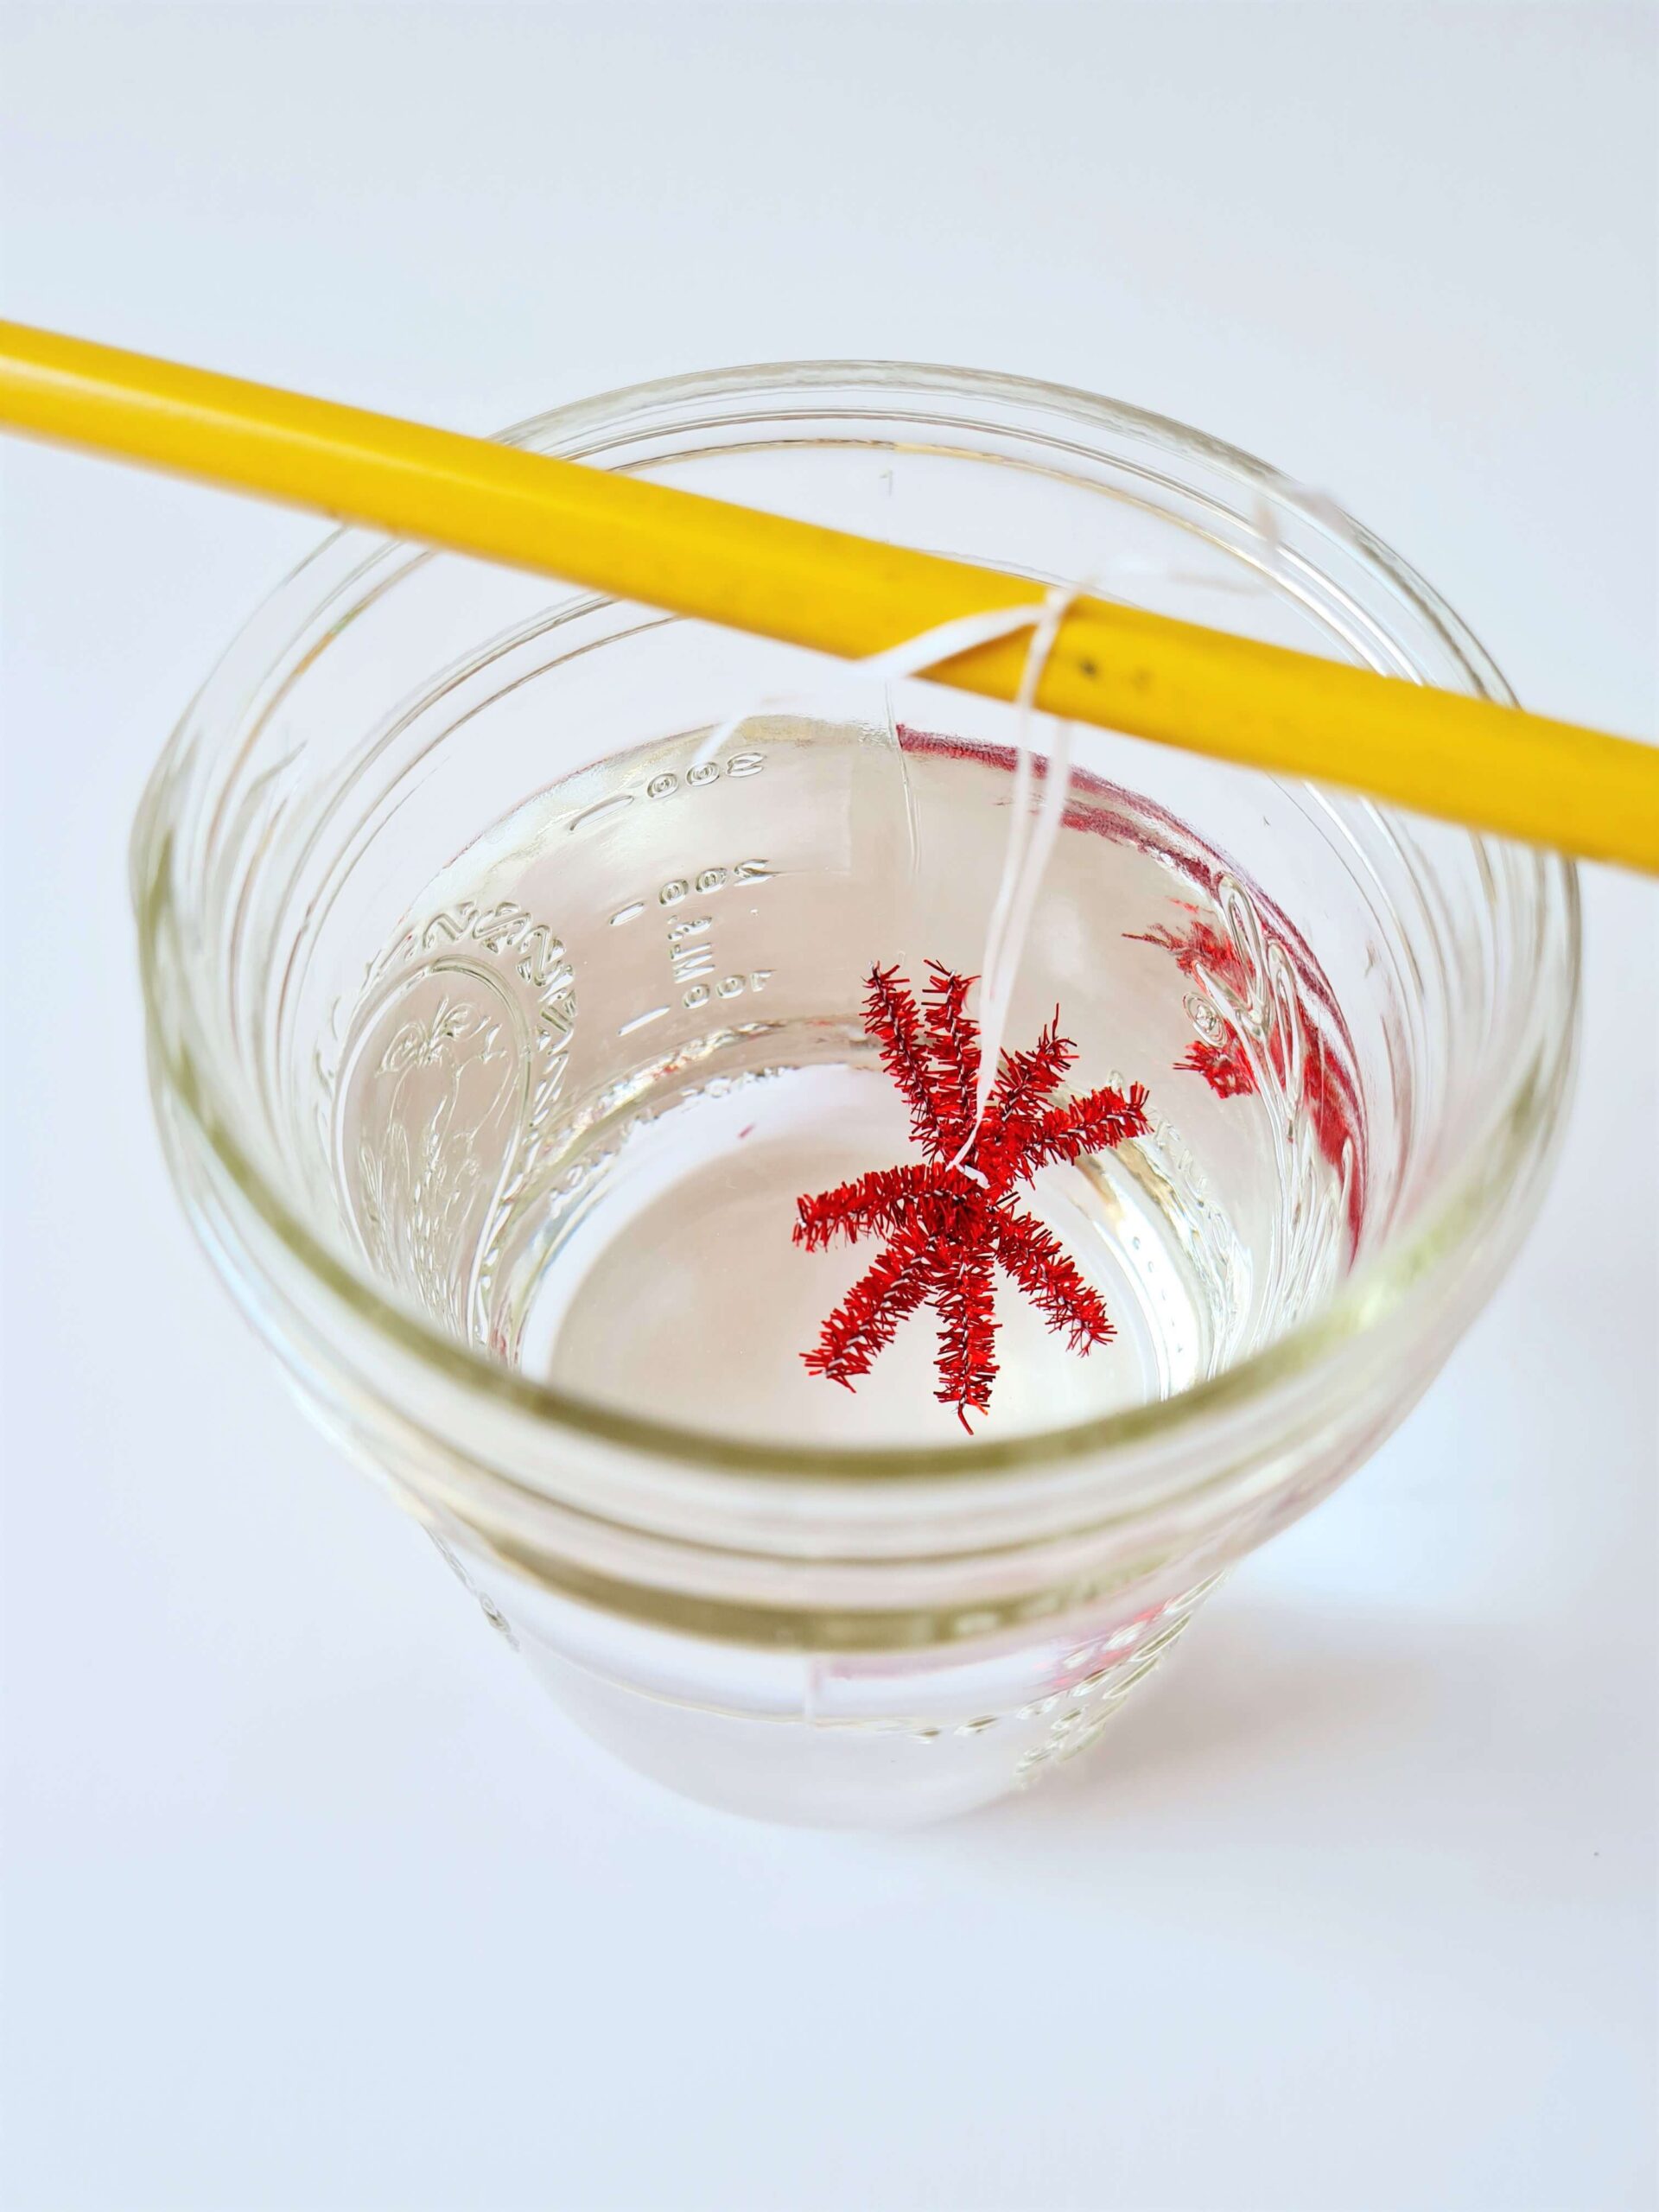
Now you can hang each shape in a jar, with the floss or string, and use a pencil to hold the string above the jar.
STEM Education has many benefits, read more about them here.
You might also enjoy our popular Dancing Grape Experiment, Make your Own Edible Glass, or learn How to Grow a Rainbow.
To learn everything about the Ames Room, take a look here.
Step 3: Boil Water
Next, boil a large pot with water on the stove.
Step 4: Add Borax
After your water is boiling add Borax and stir with a spoon until it dissolved.
I used an entire box of Borax for an 8-quart pot of water. If you want to do a smaller batch, the general rule is to use 3 or 4 Tbsp. per cup of water.
The exact measurements are not as important as making sure you have a supersaturated solution. You need to add Borax until you can see that the water will no longer hold additional Borax.
If you see a few grains of undissolved Borax, or if the solution stays cloudy, you know that you have reached the supersaturated state.
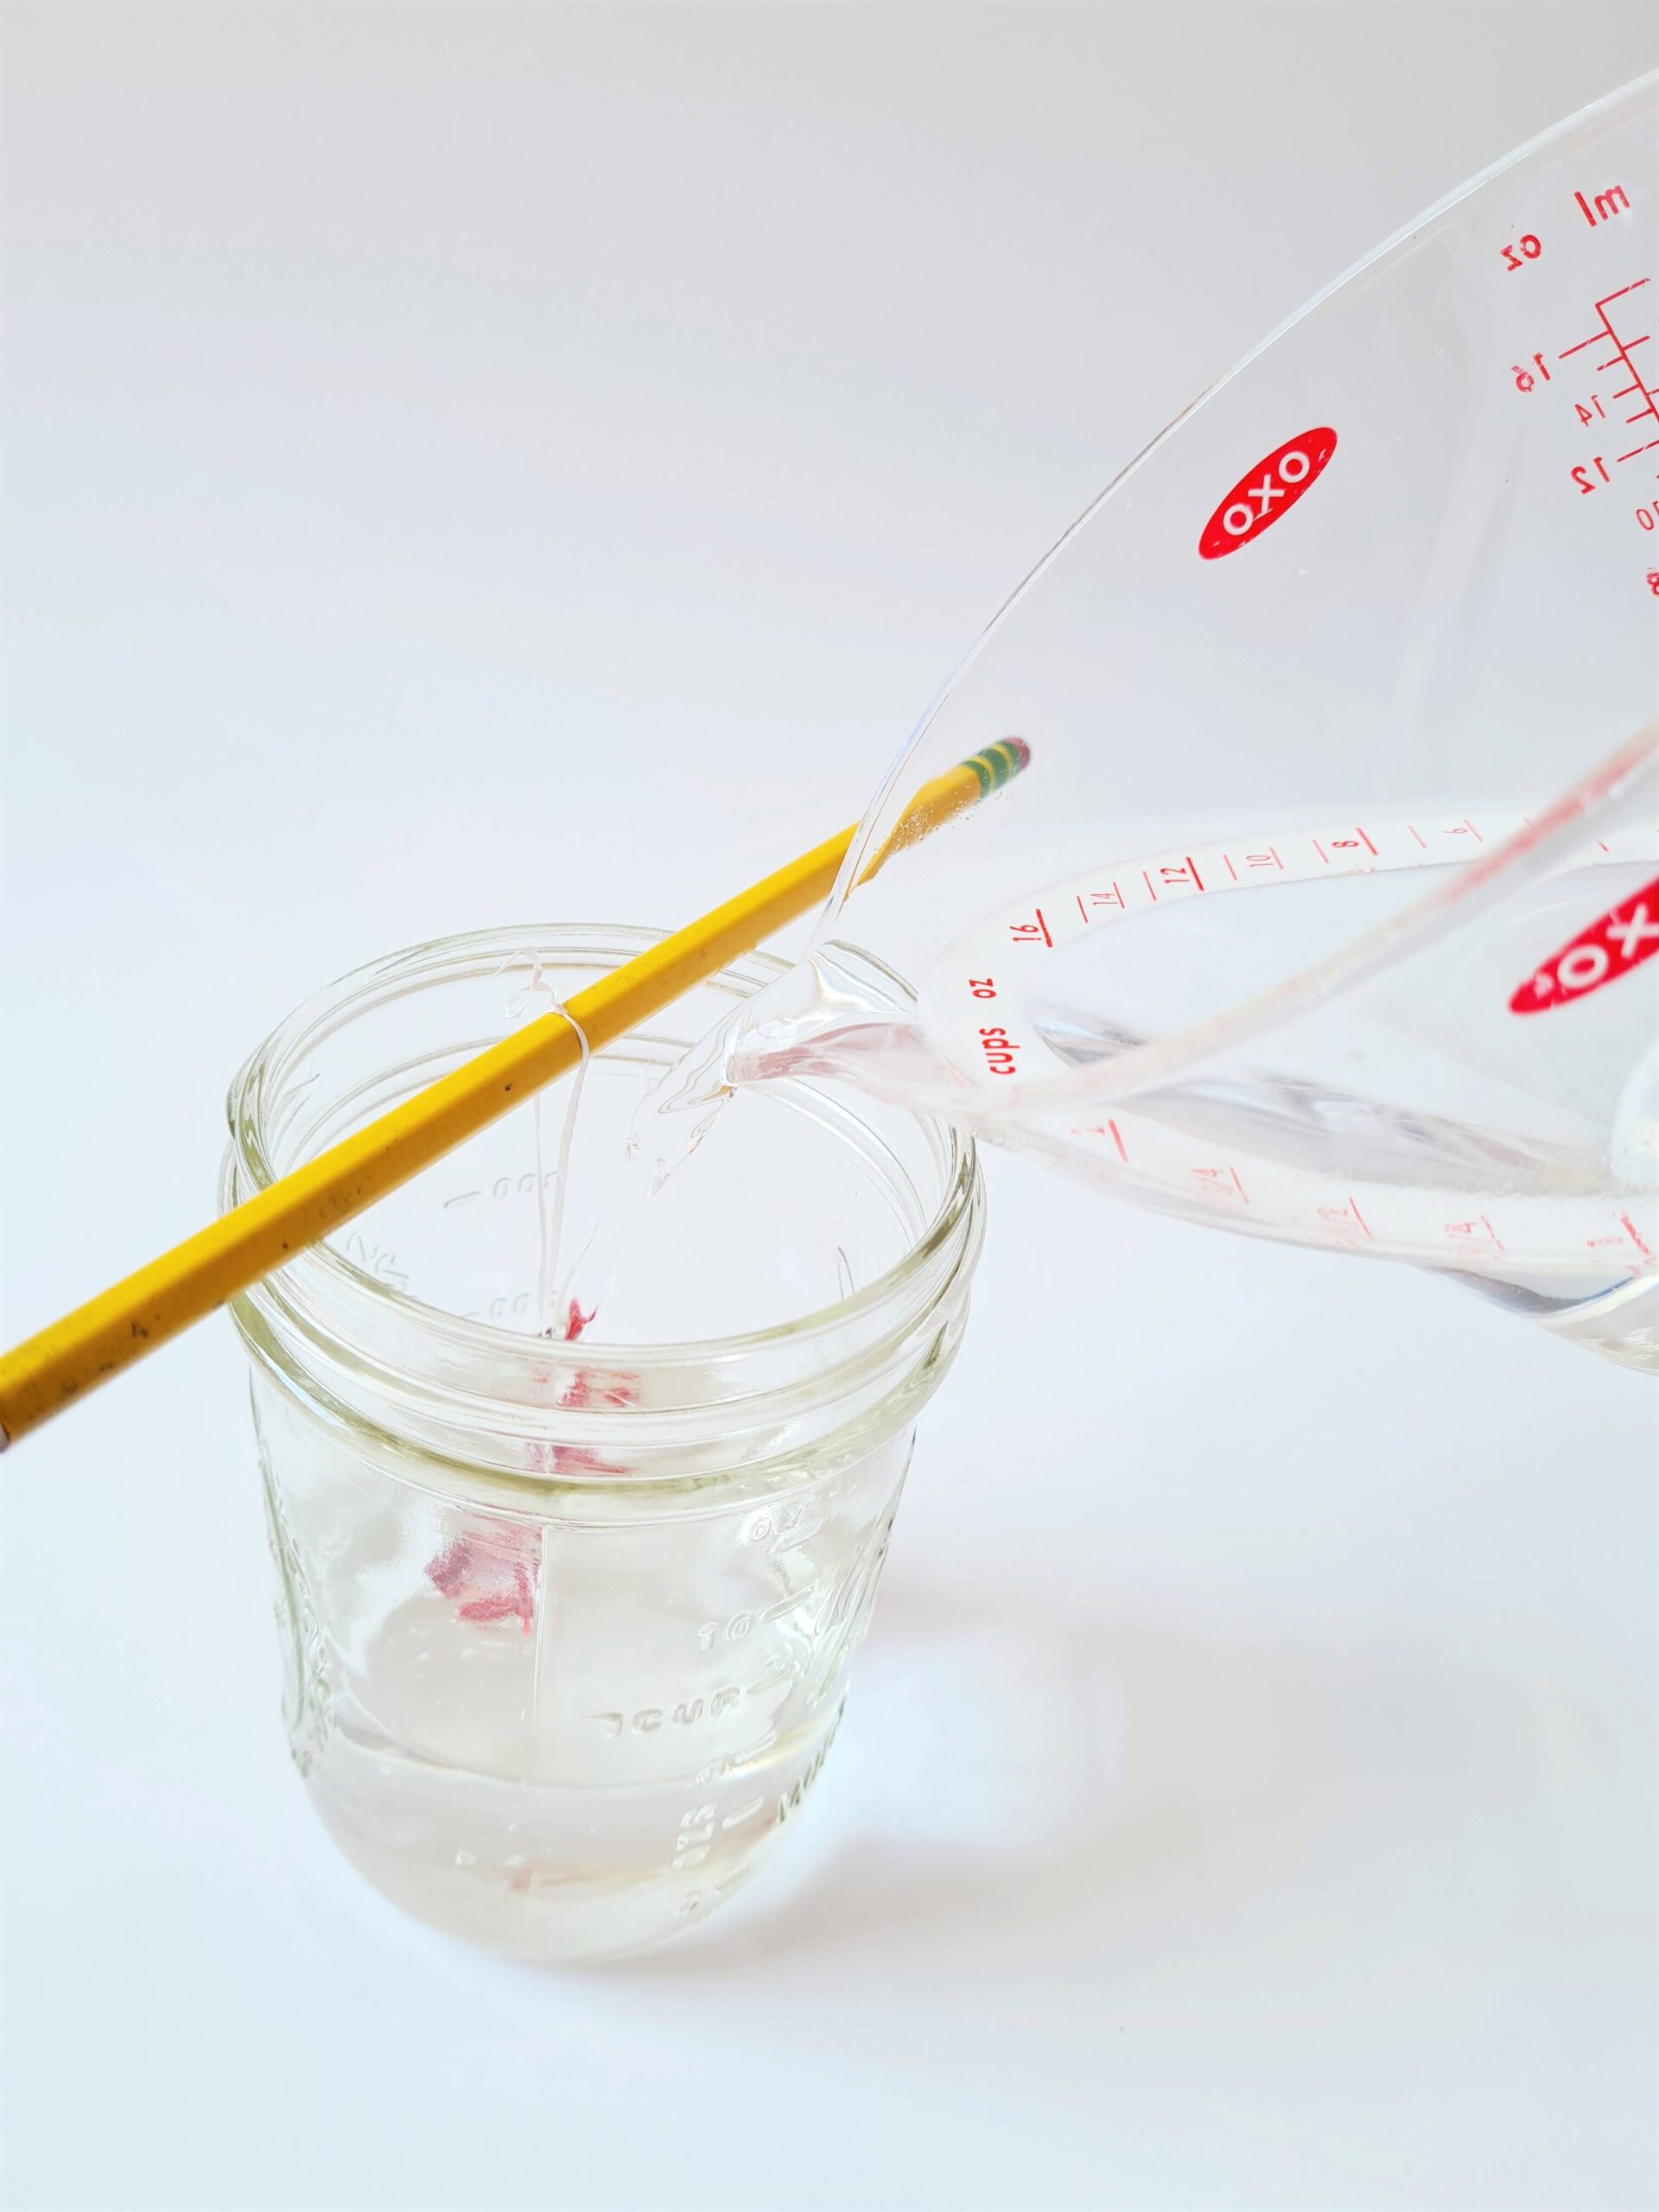
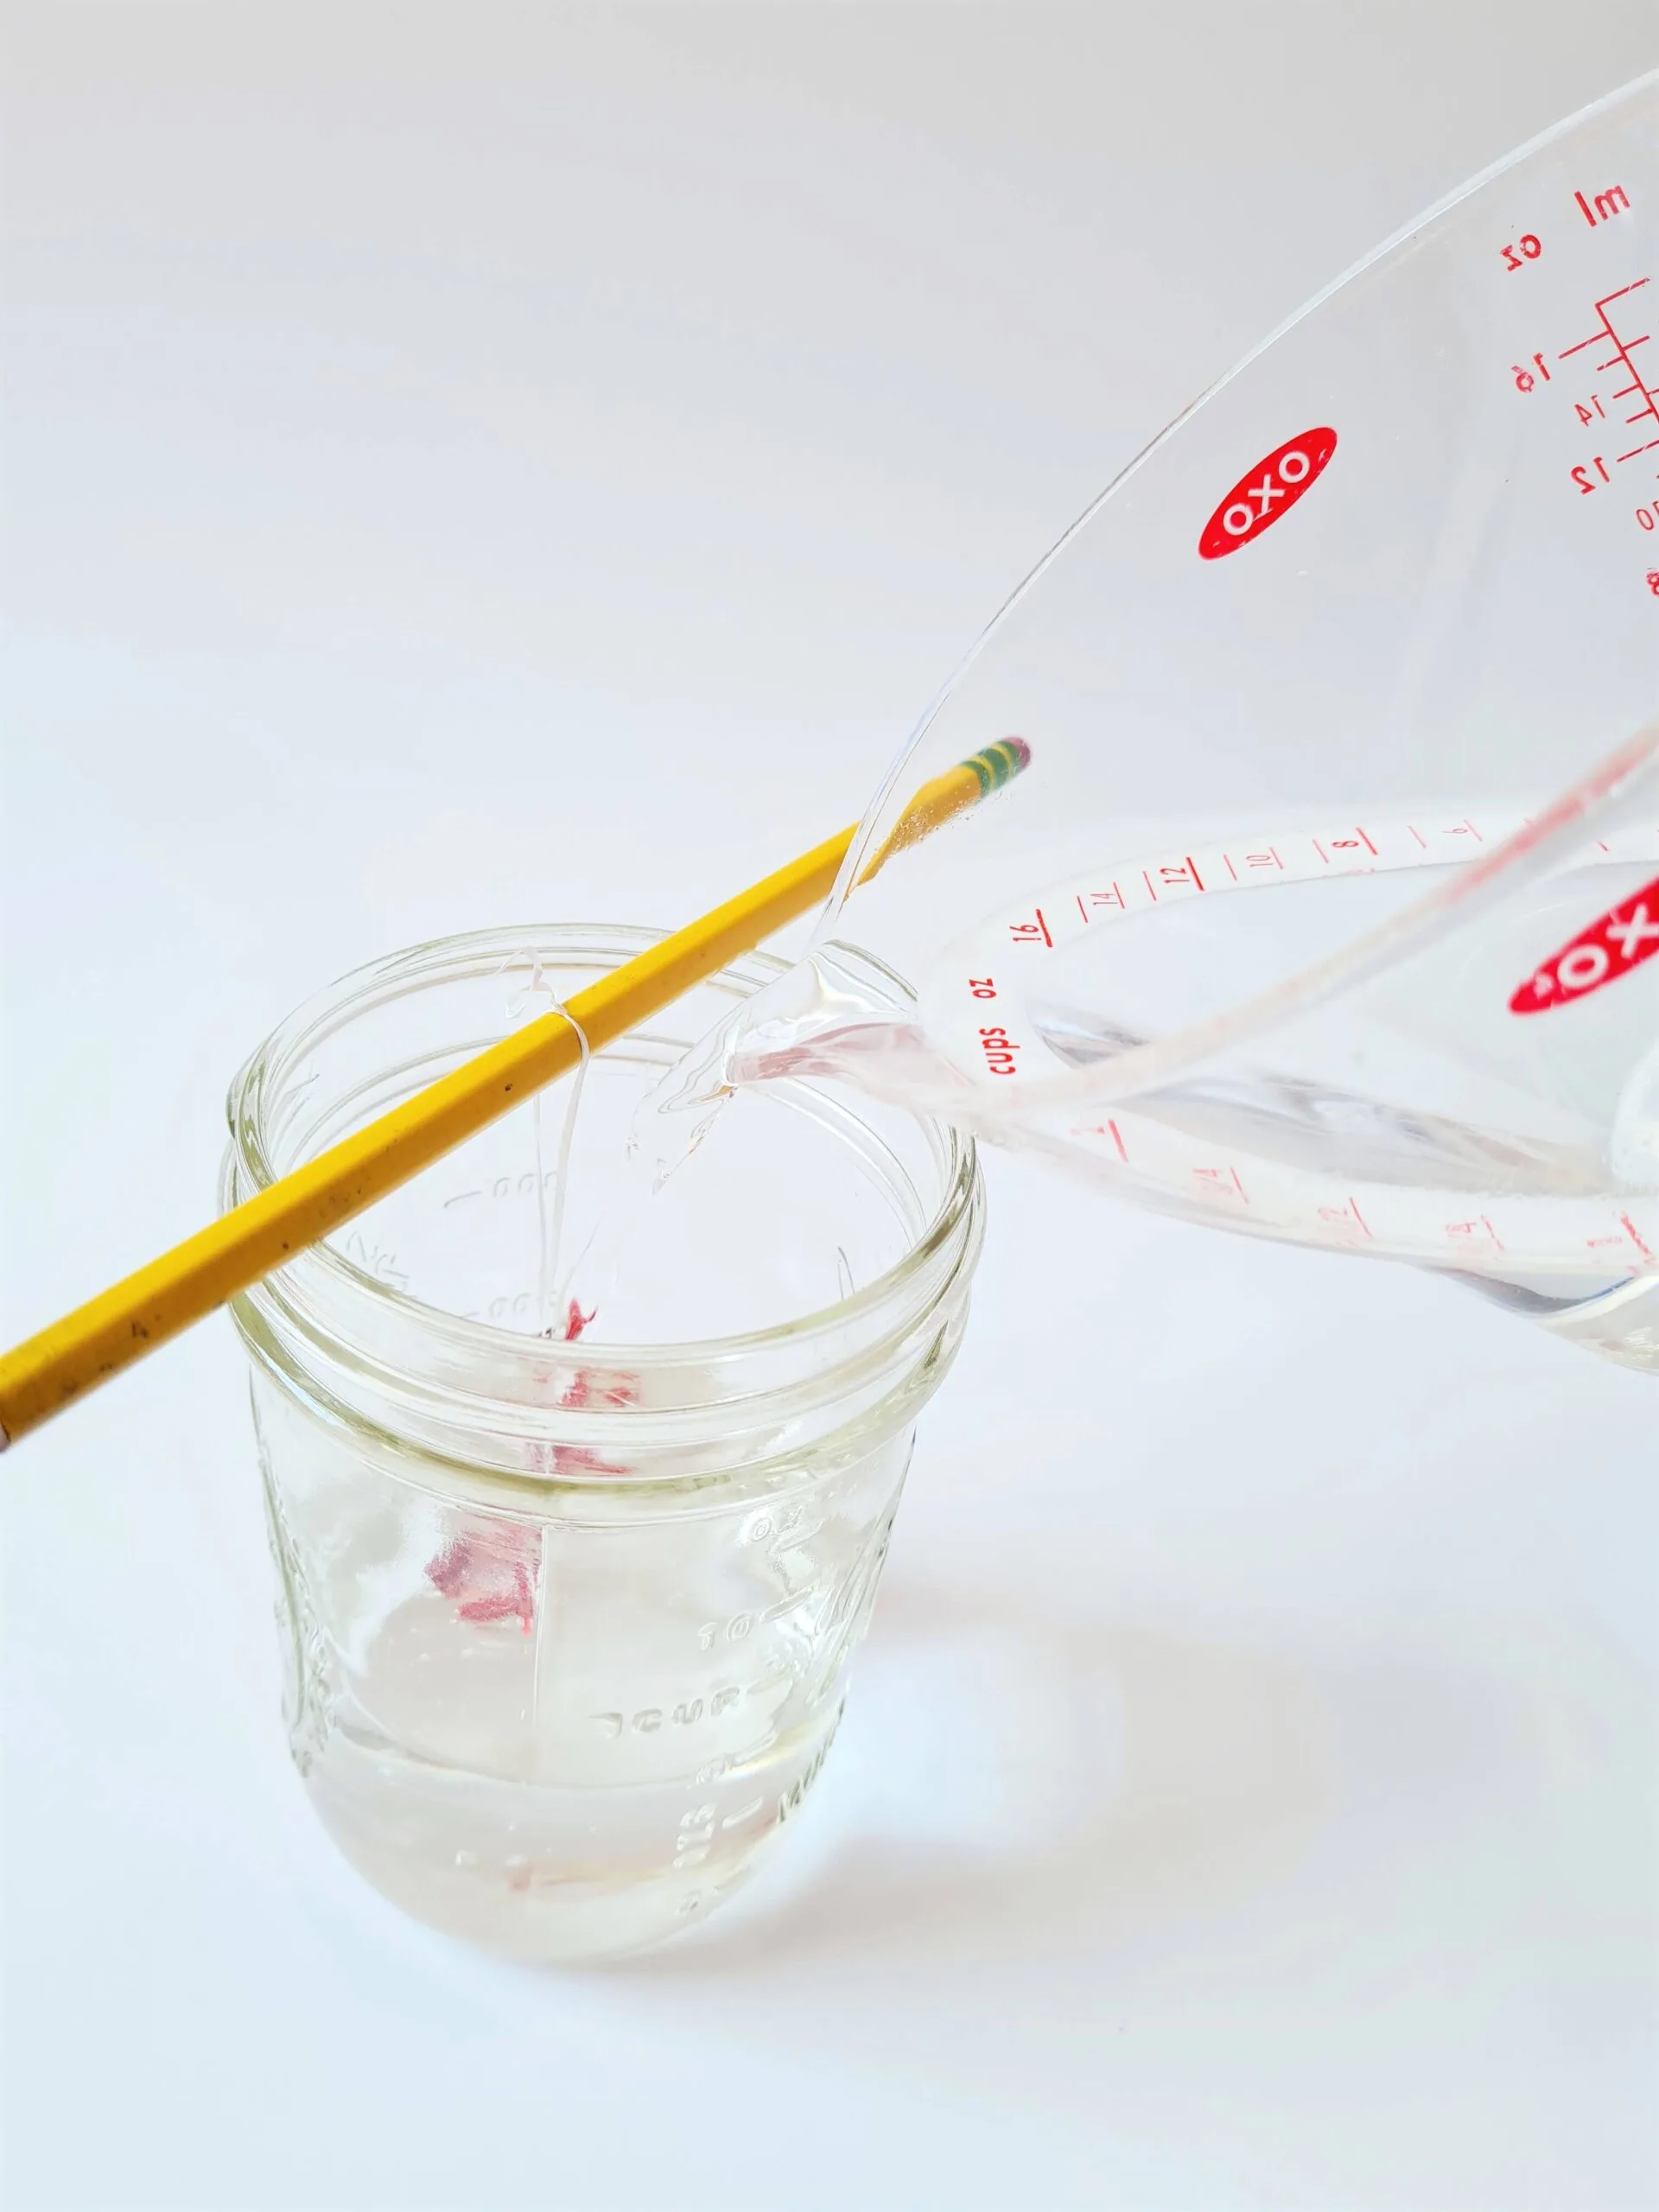
Then add the mixture to your jar. Make sure your ornaments are fully covered.
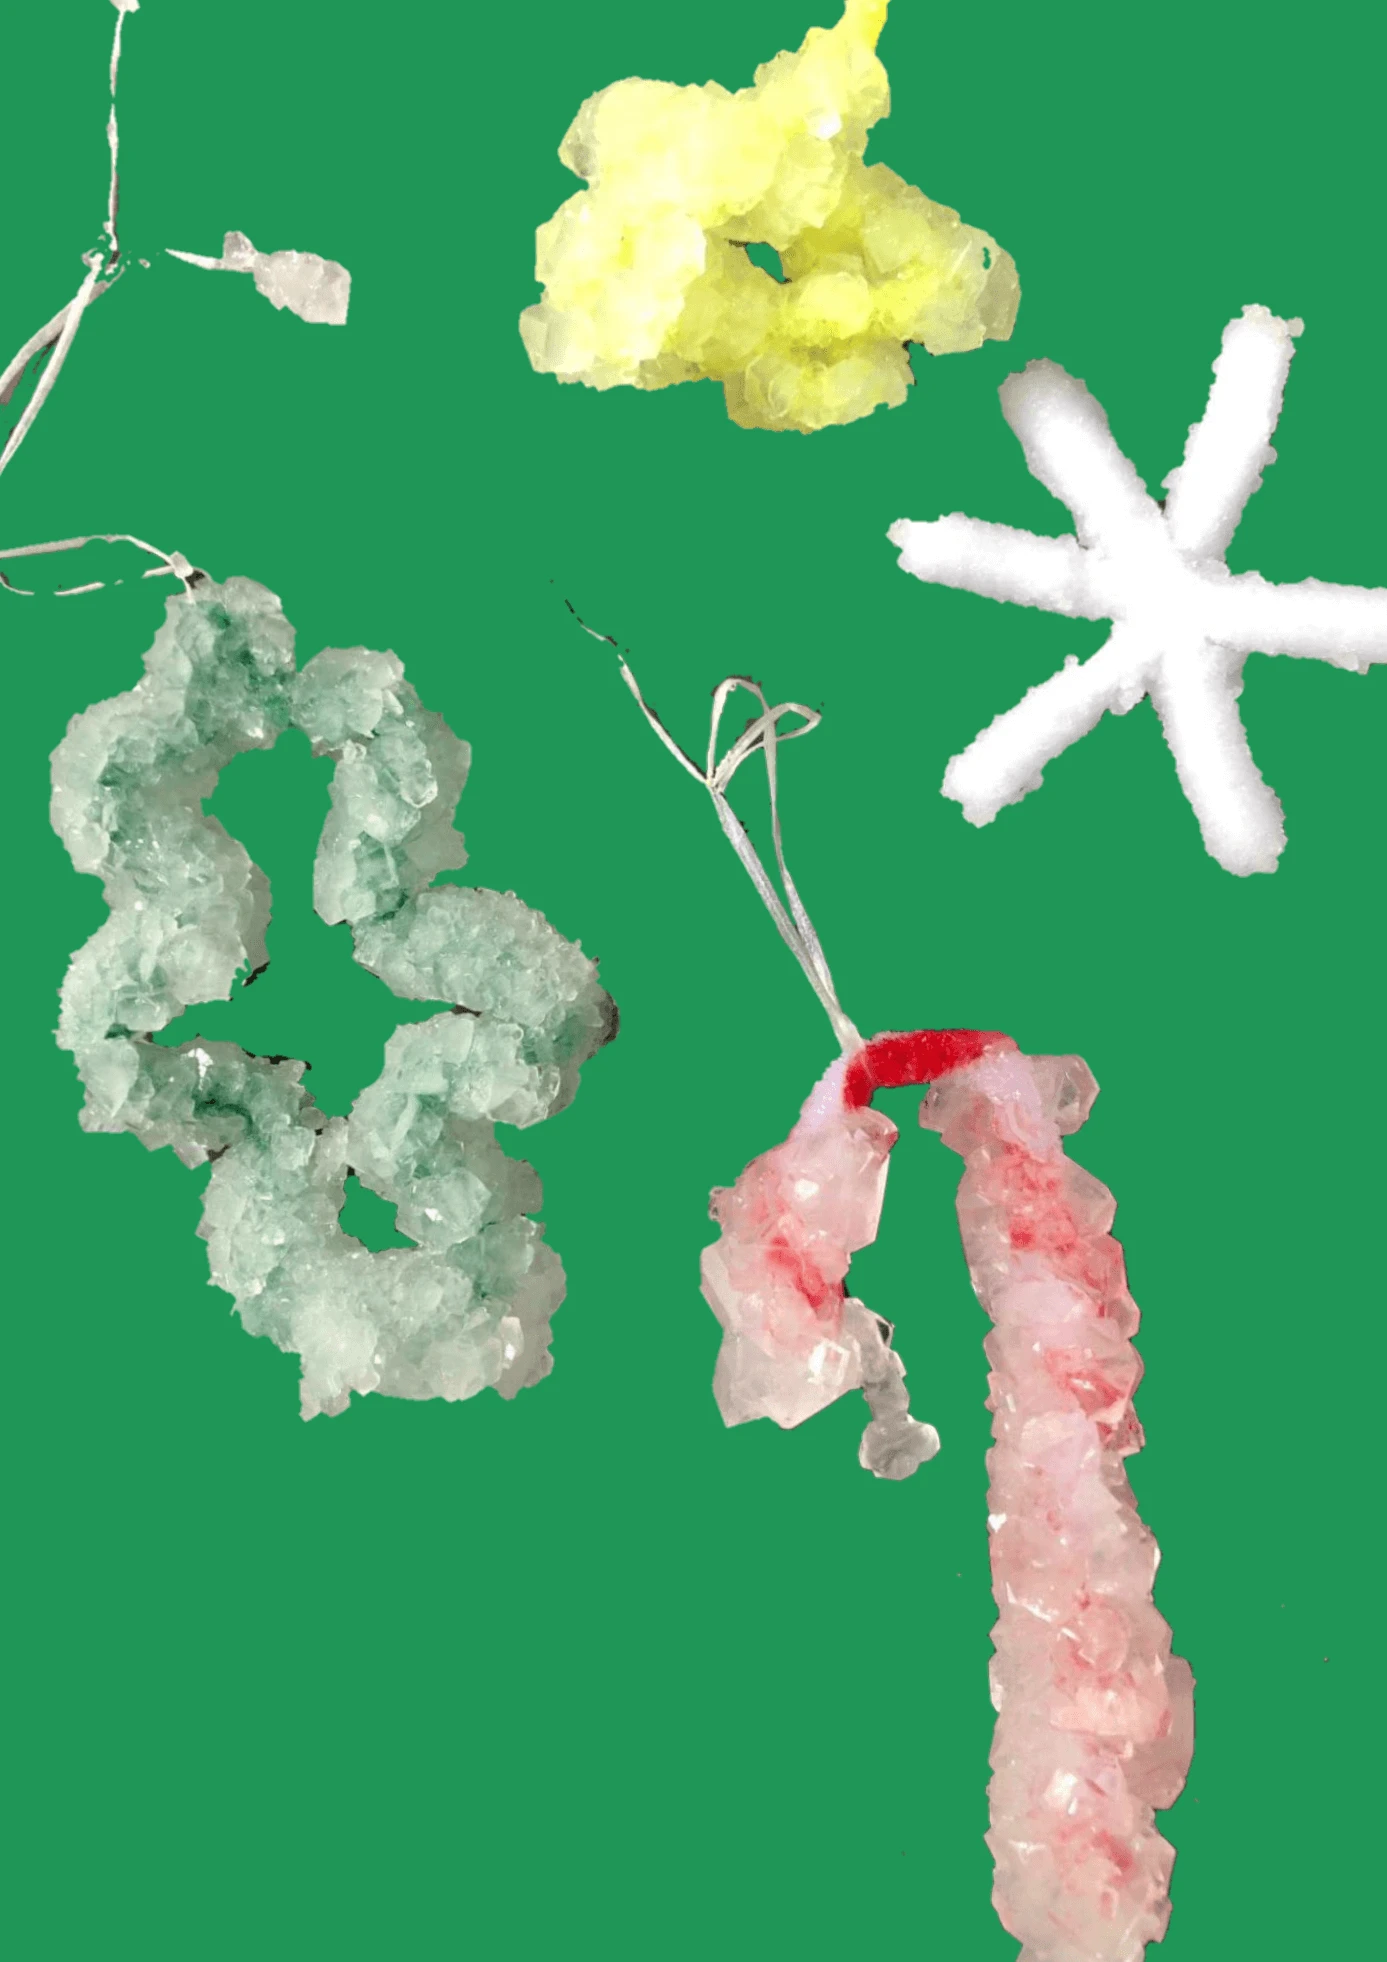
Step 5: Crystallization
Afterward, cover your jars and let them sit for several hours in a safe place.

If you like winter activities, go check out our best Snowman Names, or 60 Fun Outdoor Winter Activities for Kids next.
Tips for Crystal Snowflake Ornaments
- The water needs to be hot, as this allows it to hold more Borax, as the water cools, it can no longer hold onto all the Borax it contains and crystals form as the Borax drops out of the solution.
- I suggest starting this project in the morning so you can observe as the crystals grow pretty fast. We left it overnight and that was too long for some of our smaller projects, the pipe cleaner shape got totally lost in the massive crystal growth.
- Don’t make your jar opening too small, remember, your finished crystal will be bigger than your pipe cleaner shape, so plan for extra clearance space so you don’t have trouble getting your shape out of the jars.
- You can place a few projects into a larger jar, but make sure they are not touching each other or the bottom or sides of the jar, and keep in mind that as the crystals grow they may start to touch each other, so give every shape plenty of room to grow.
- Don’t worry if you have an extra solution, it is a great cleaning liquid, and you can scrub your sinks, tubs, and shower tiles with the leftovers.
- If you don’t want to mess with string, you can use the pipe cleaner as a hook to hang over your pencil. The crystal will stop growing at the water level.
- Do you prefer colored ornaments? Then simply use watercolors and make them look pretty afterward or add food coloring to your Borax liquid.
If you are a visual learner, here is a video tutorial on how to make borax ornaments for you!
The Science Behind Borax Crystals
What is Borax?
Borax, or sodium tetraborate, is a naturally occurring white mineral. It has been used for numerous industrial use such as in cleaning products.
Please be aware Borax is not safe to ingest!
Therefore we recommend this winter STEM activity for older kids!
Where can I find Borax?
- The laundry aisle at grocery stores
- Hardware stores
- Farm supply stores
- Swimming pool supply stores
How does Borax crystallization work?
Borax molecules suspend in hot water. But when the supersaturated liquid cools down the water molecules come closer together again it cling to whatever they can. Beautiful translucent crystals are formed.
Be aware that since Borax is a salt the crystals will not keep their structure for a long time!
Pin this Crystal Snowflake Ornaments
Don’t forget to save this snowflake experiment on Pinterest for later! Be sure you are following along with Lil Tigers.

Co-Creator


For these fun crystal snowflake ornaments, I had help from Charlene Benjamin Hess.
Charlene spent many years teaching kids before she had her own kids.
She now has 7 kids of her own, whom she has been homeschooling for the last 12 years.
Charlene still teaches other children outside of her home but finds great joy in exploring the world with her family.
She and her husband Benjamin blog about homeschooling and success principles for kids @Hessunacademy. Charlene also helps out with a homesteading and emergency preparedness blog at https://thepennedprepper.com.
Please show her some love by visiting her social media channels and taking a look at what she has in store for your next rainy-day activity!
Blog: https://hessunacademy.com
Now I would like to hear from you!
How did your kids enjoy making crystal ornaments?
Either way, let me know by leaving a comment below right now.
I’d love to hear from you!
How to Make Borax Crystal Snowflakes
Learn how to make Borax Crystal Ornaments
Materials
- - large box Borax pipe cleaners
- - dental floss
- - fishing line or string scissors pencils or sticks
- - jars
- - water
- - spoon to stir
- - paper
- - safety glasses (optional)
Instructions
- Create shapes with your pipe cleaners.
- Hang your shapes in the jar with the floss or string, use a pencil to hold the string above the jar.
- Boil water on the stove. Add 3-4 tbsp. of Borax per jar and stir to the boiling water.
- Fill your jars with the Borax mixture.
- Cover your jars and let them sit for several hours.